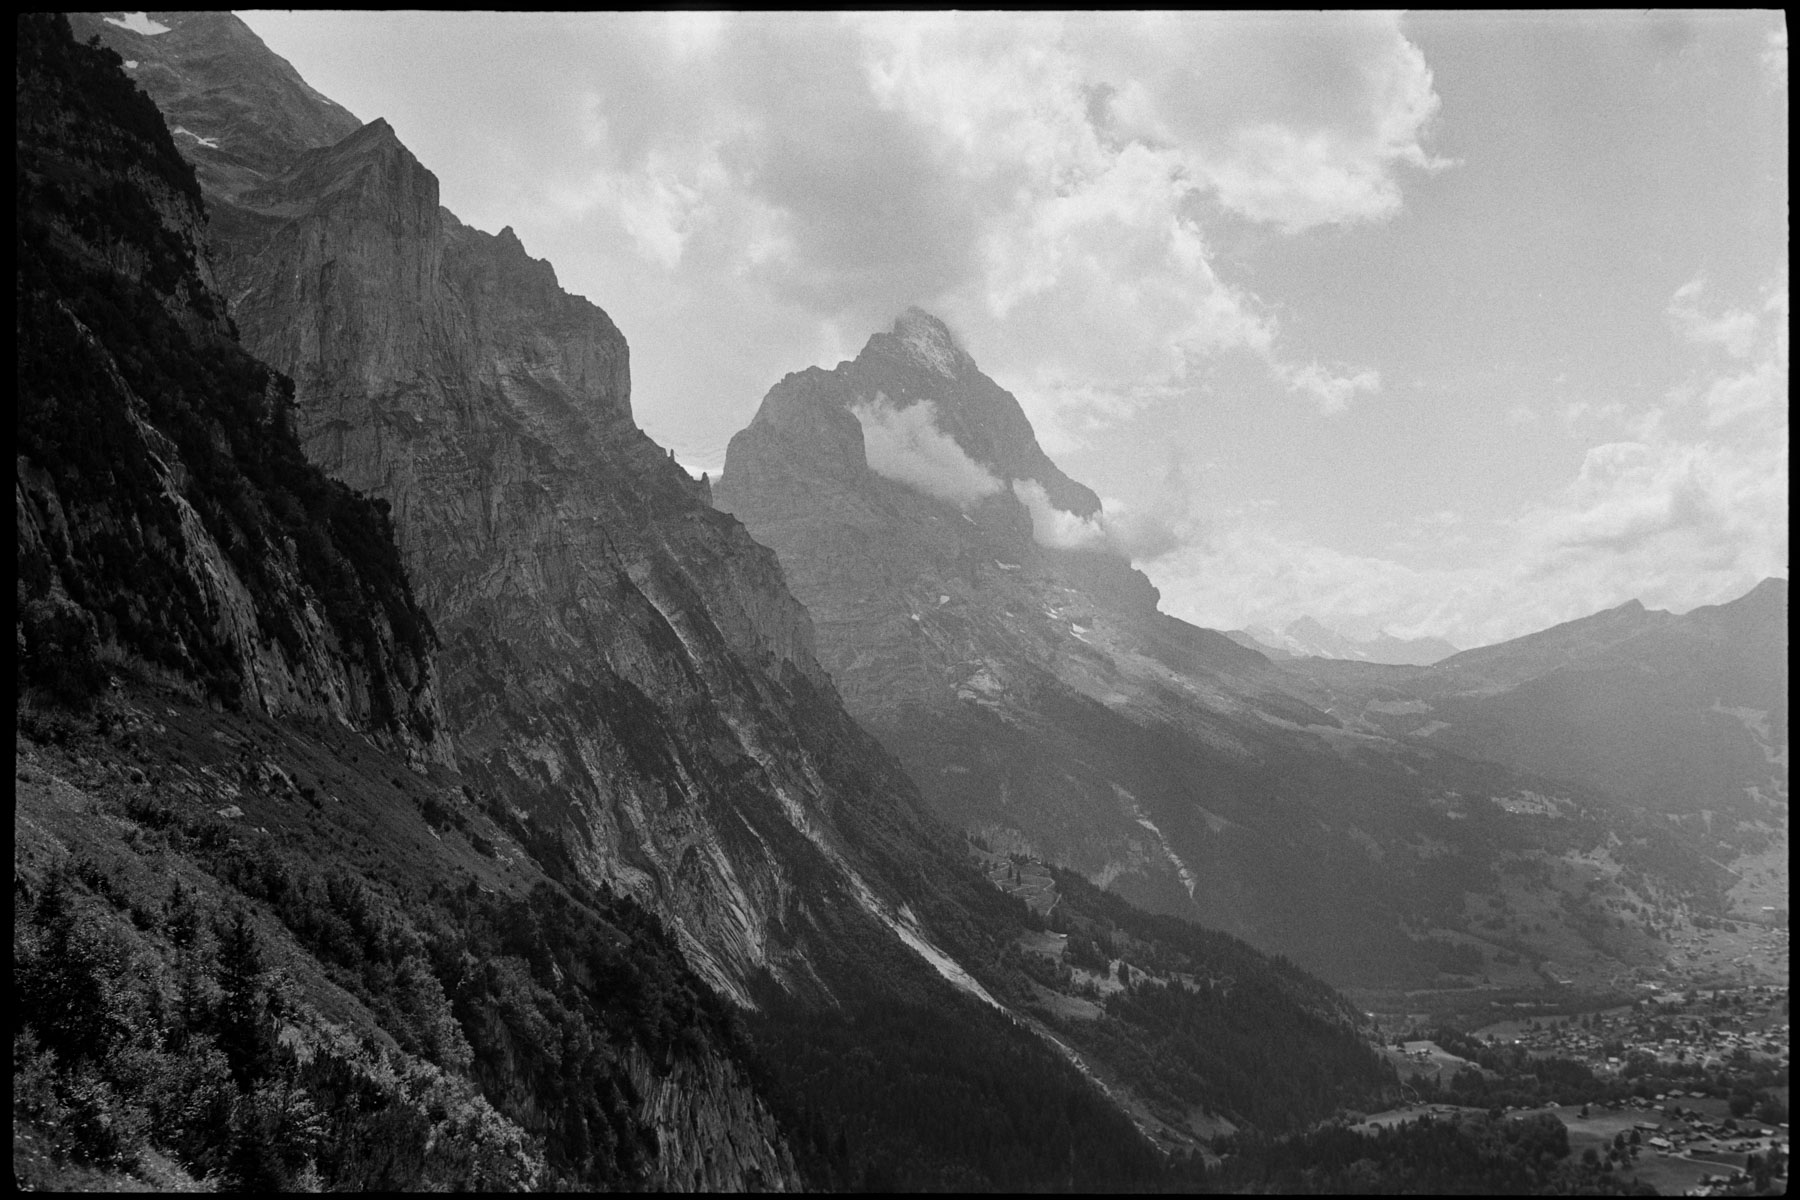
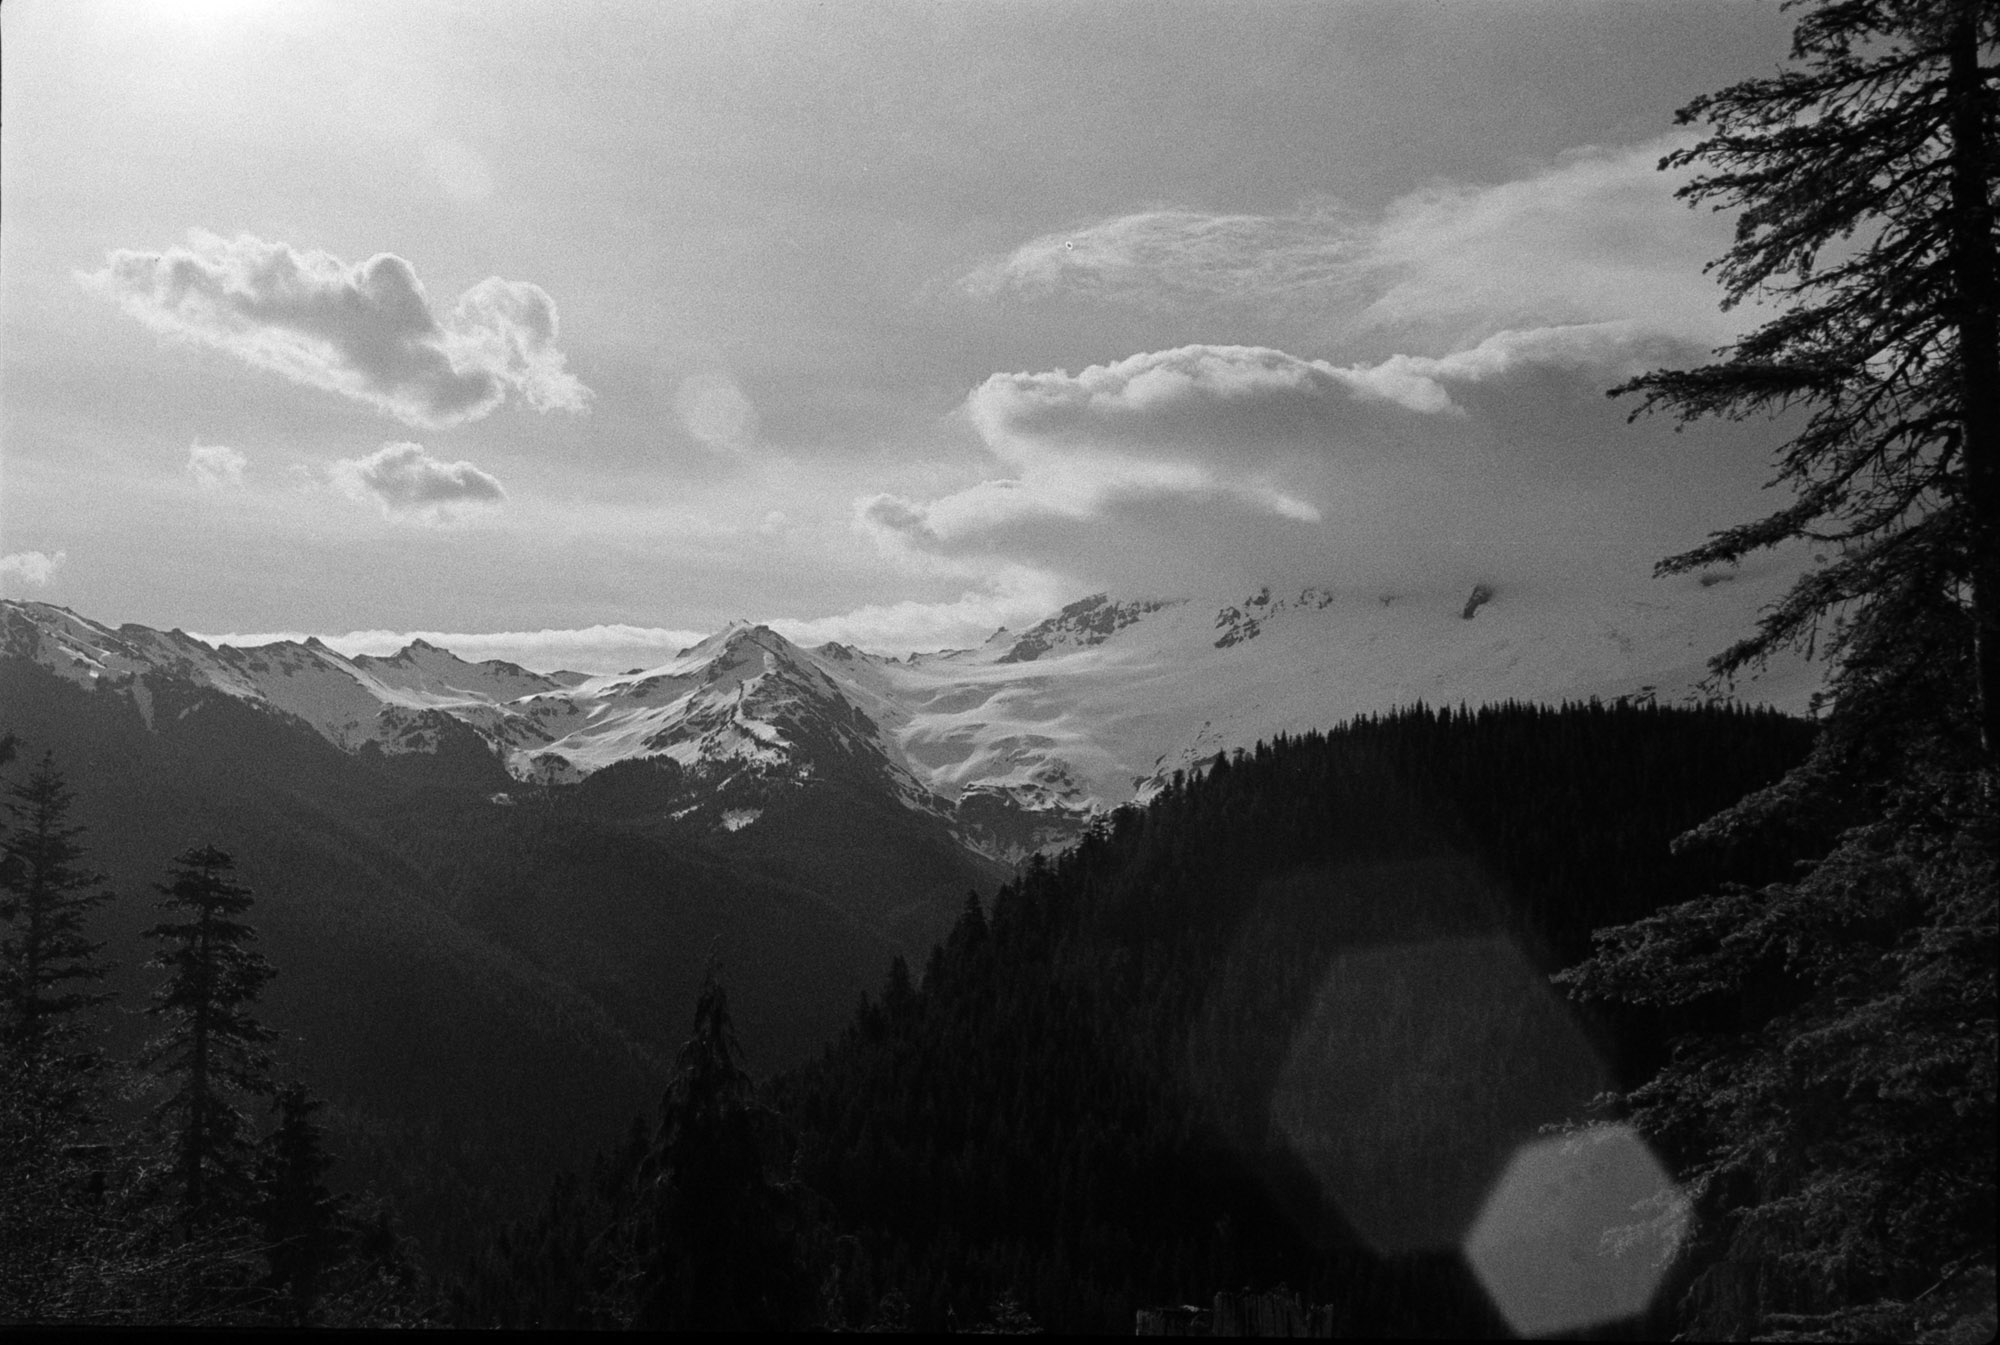
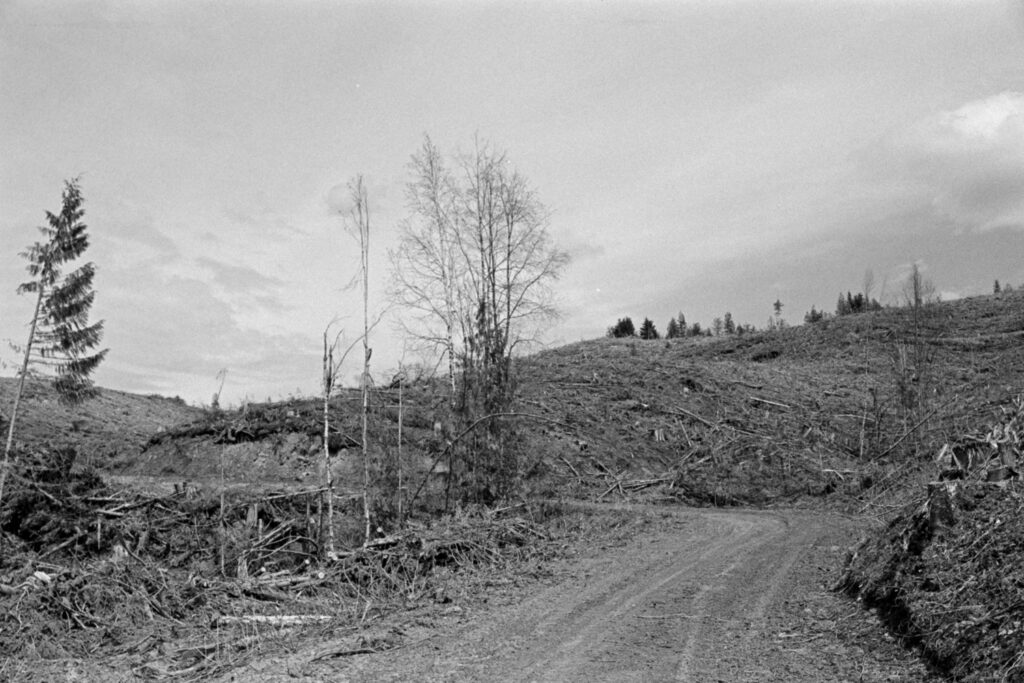
In July made a quick escape to see some mountains of a different variety. Much time was spent hiking, train hopping, walking the streets and looking up, mouth agape. Just incredible beauty in this land. A little bit of time was spent in Zurich and Lucerne but most of my days were on the trails of the Jungfrau Region and Grindelwald.
It’s 3AM and I’m wide awake. In an hour I have a ride to catch to the airport where the long travel day to Zurich begins (more on that later). This is simply an exploratory trip, hopefully with some good photo opportunities. I’m bringing along my Bronica 6×6 and was planning on toting one of the Nikon F2s but… something about the Swiss Alps begs for a bit more photographic finesse. Perhaps something German? It also wouldn’t be terrible to have a camera that’s about half the size and weight of the F2.
Not coincidentally, a Leica M4 showed up on my doorstep yesterday. With under 24 hours before my flight, I figured I should burn a quick roll of film through it just to make sure it’s working as expected. Wouldn’t it be terrible to spend a week (and $100 worth of film) in Europe only to later find out the camera’s got some catastrophic light leak or shutter drag or something.
A 24-exposure roll of Kentere 200 goes in and a relatively clean set of shots came out. I goofed when loading the camera (first time loading a Leica) and exposed the first few shots and the development timing was a bit of a scientific wild-ass guess (first time developing Kentmere 200) but all in all, the M4 is good to go.
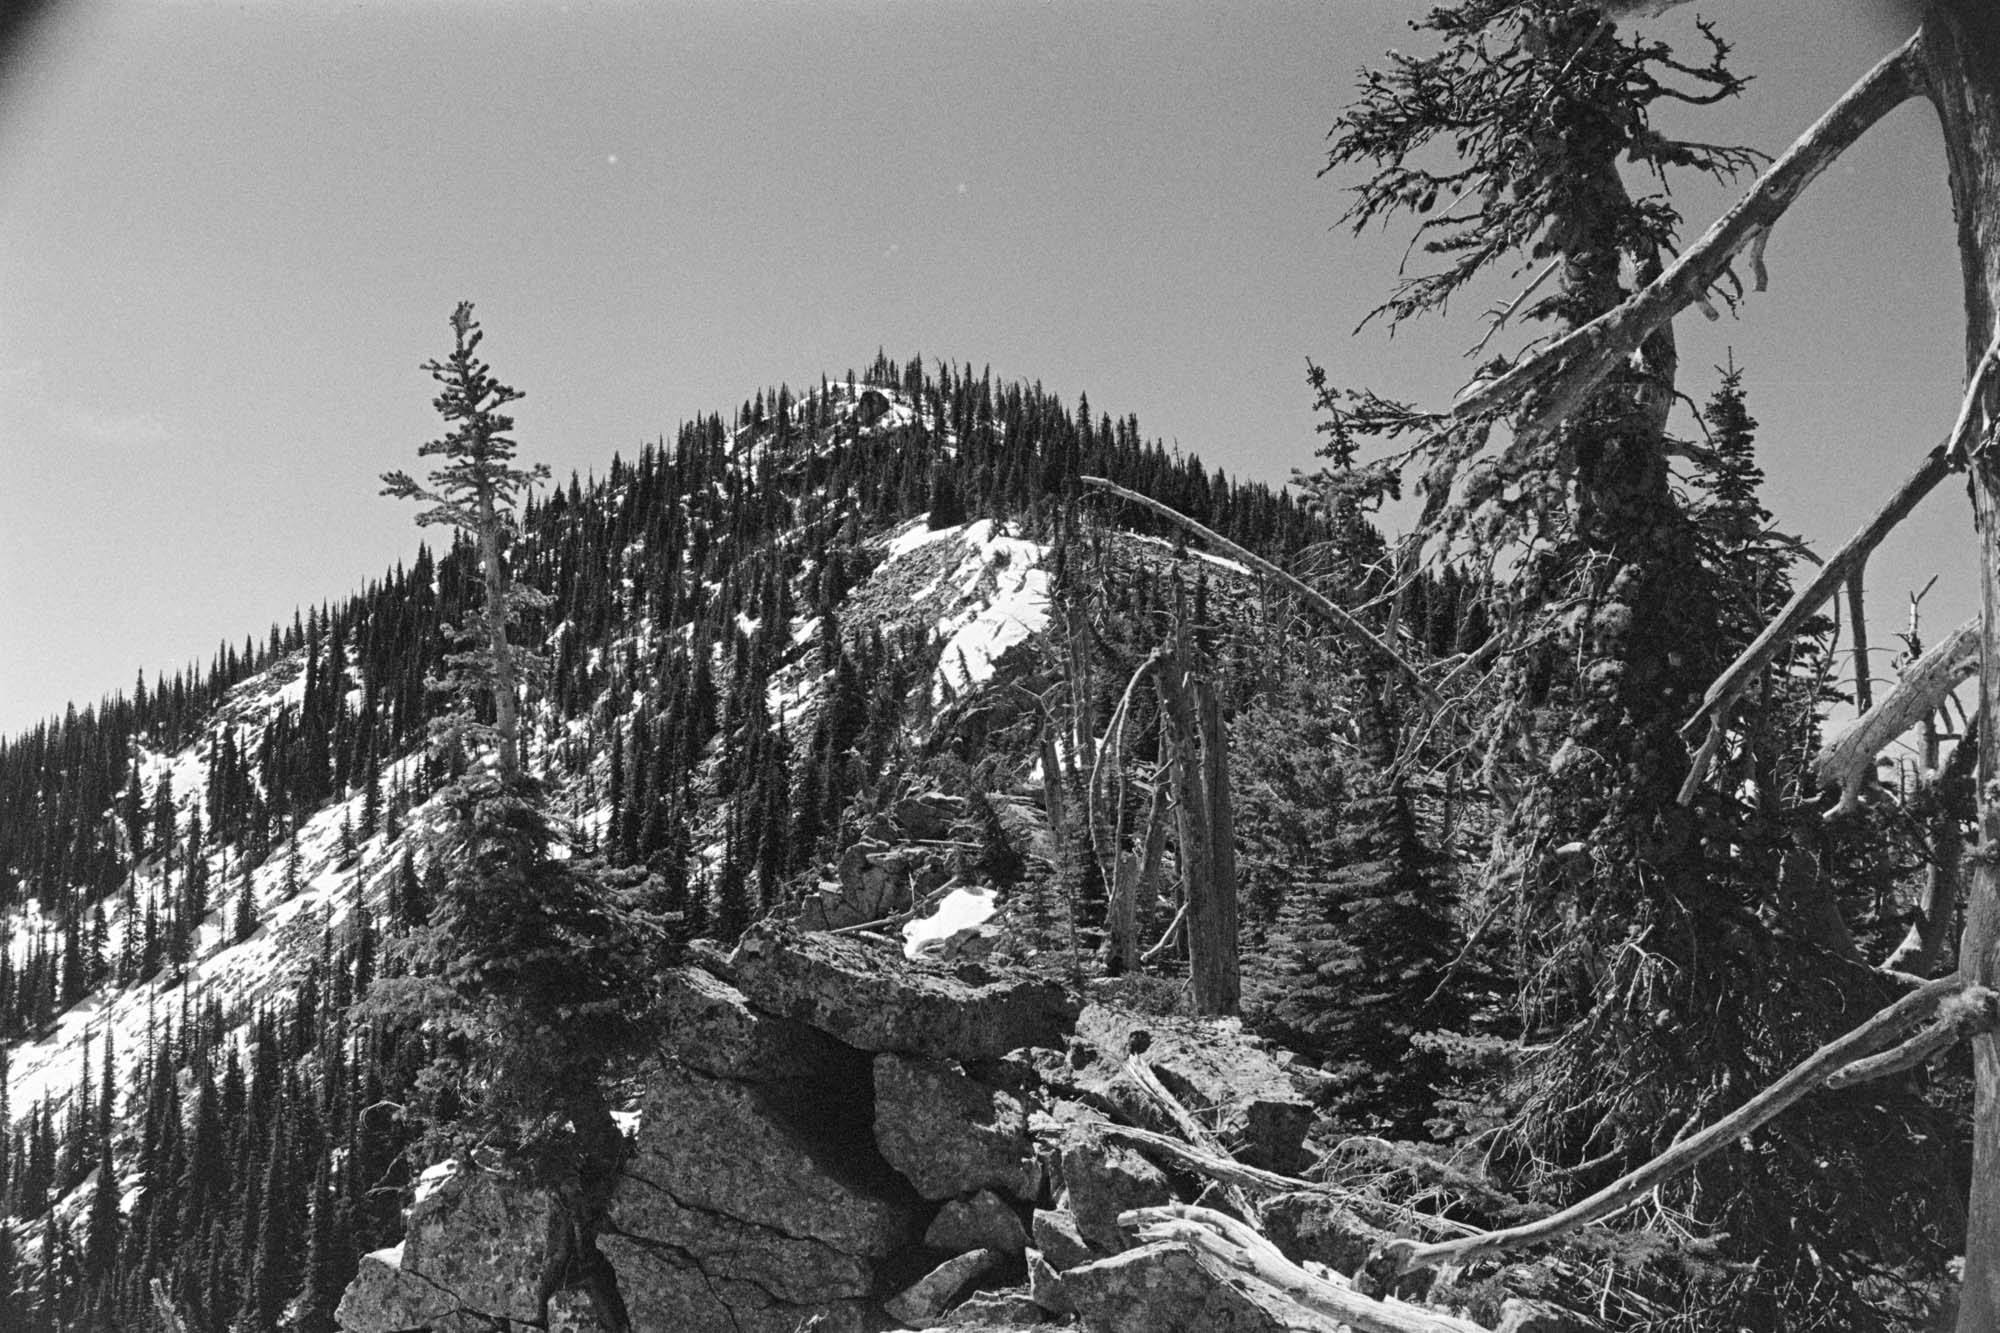
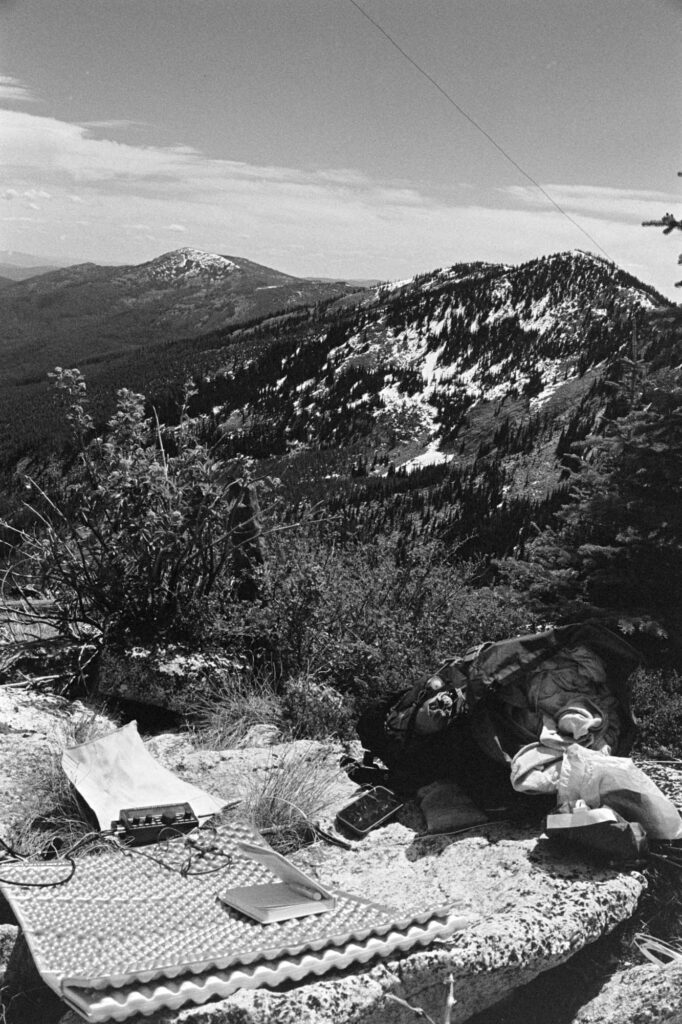
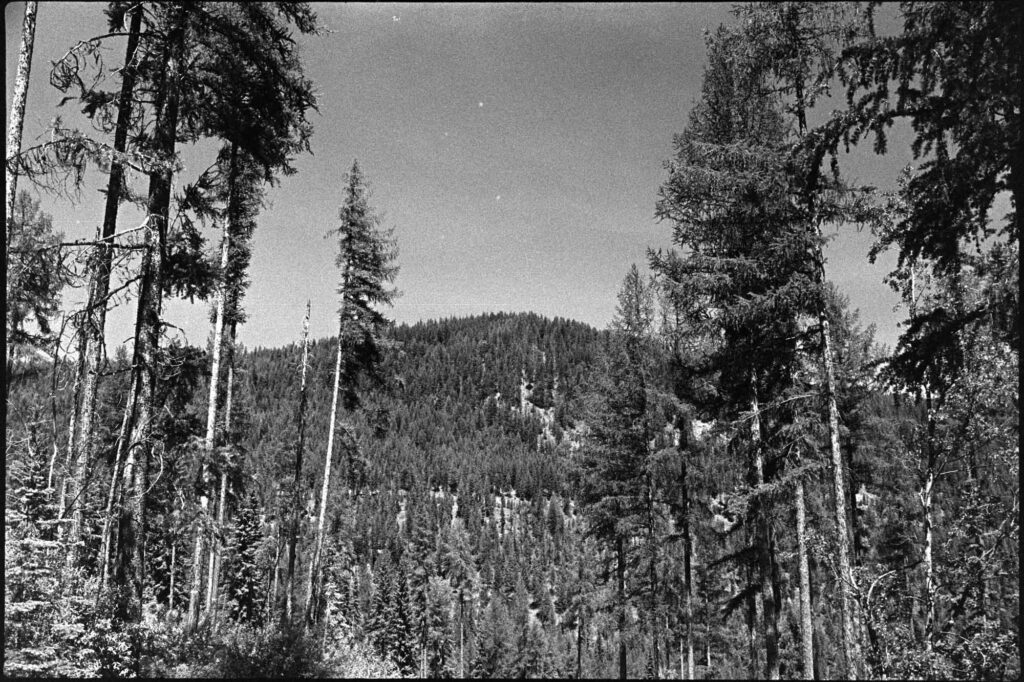
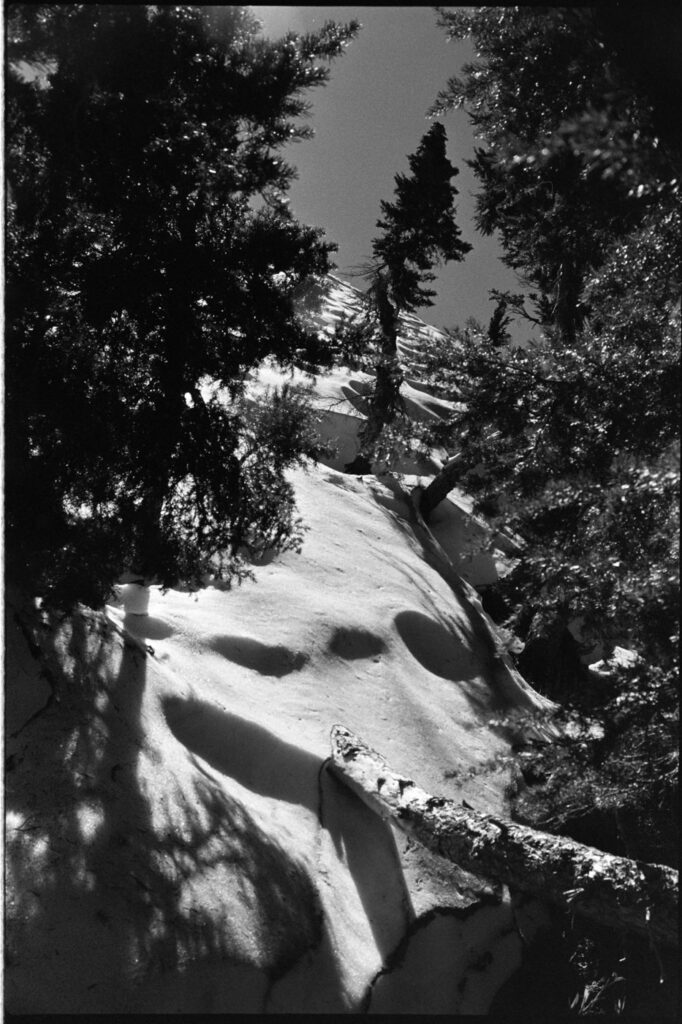
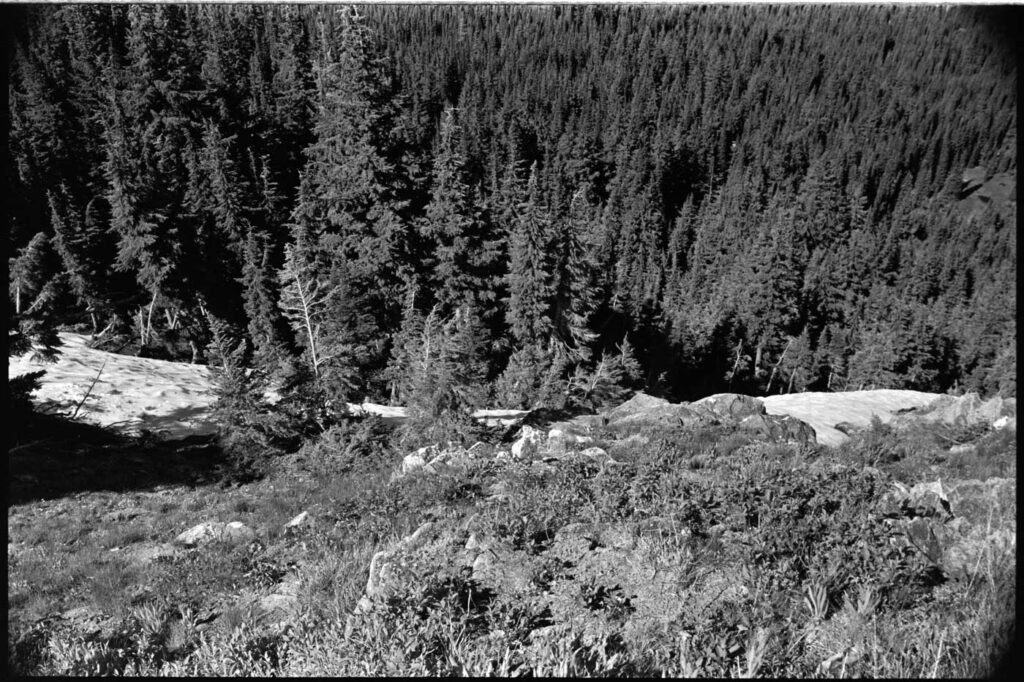
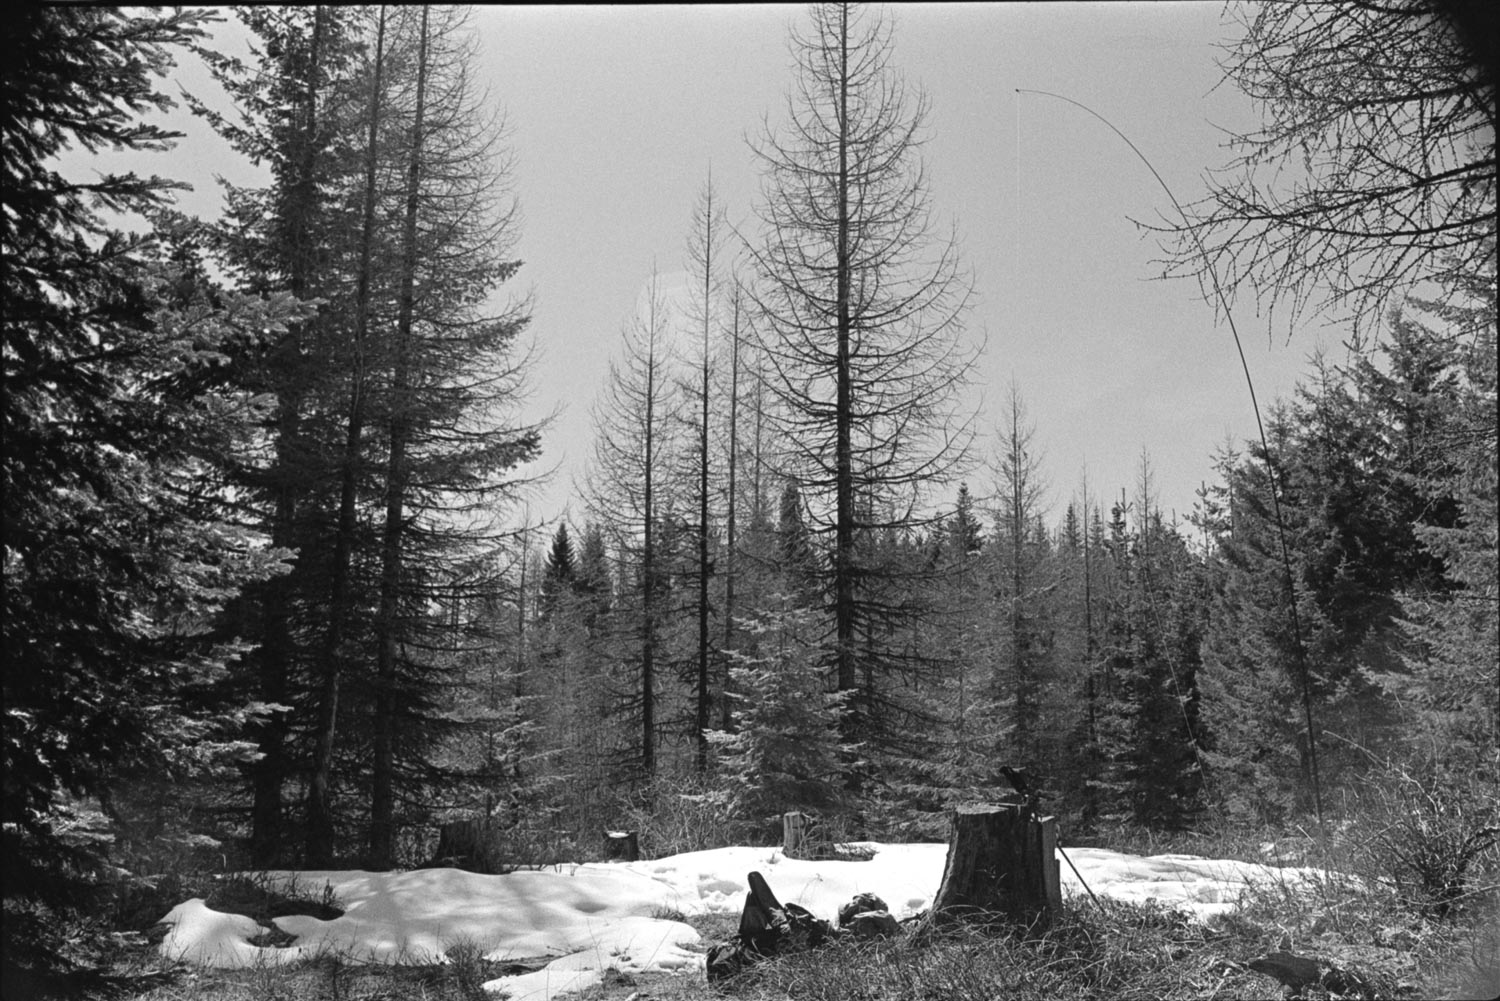
Northwest of Spokane lies a pocket of summits I’ve been eyeballing for months—about a dozen SOTA-qualifying peaks in the 6000–7000 ft range. With some free time and an itch to chase points and elevation, I mapped out a three-day backpacking trip in early June aiming to activate at least four eight-pointers.
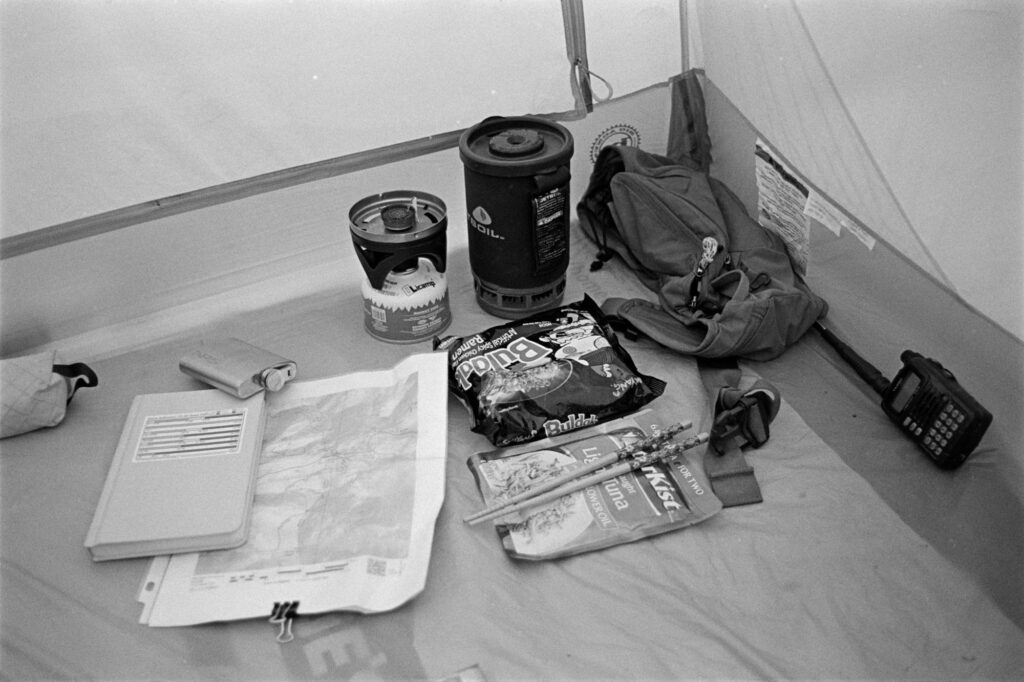
With almost zero familiarity with the area (always a great start), I hit the trail Thursday afternoon. I started from Sherman Pass Trailhead, heading south along the Kettle Crest, skirting just west of Sherman and Snow Peaks. Somewhere in a saddle—conveniently next to a rentable Forest Service cabin—I found a near-perfect campsite and set up shop. It was only about 5 p.m., still bright out, but the bugs had unionized and were not accepting negotiations. I retreated to my tent early to snack on a cold burrito.
Inside, I studied the Fred Cady Elecraft KX2 book on my Kindle. This was the radio’s first go—I’d had the KX2 for a grand total of two days, with only one QSO under my belt (to prove it wasn’t a brick). Would I manage a successful mountaintop activation with just 20 minutes of experience? Good question. I was wondering the same thing.
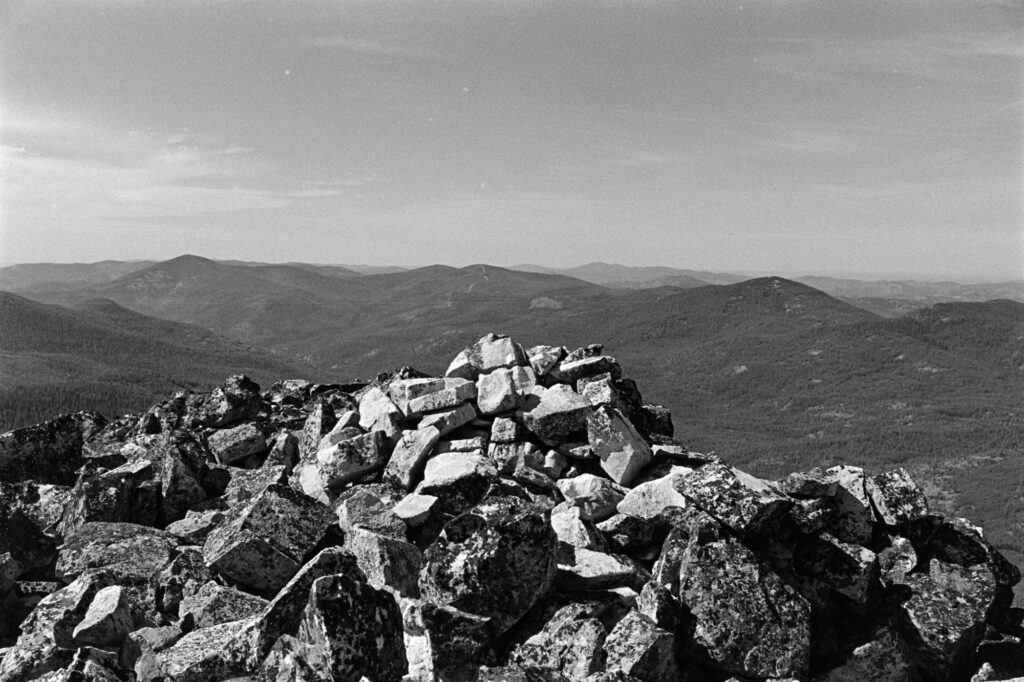
Bald Mountain W7W/FR-003
The plan was to start from the southernmost peak—Edds—and work my way north, leaving Bald for latter in the day. But standing there sizing up the peaks, Bald looked like it meant business. I decided it was smarter to hit it first while I still had fresh legs and optimism.
I ignored existing online beta that suggested a south/southwest approach and instead eyed a doable-looking line from the north/northeast. My logic: less snow exposure on the north side. My reality: boulder fields of doom. Not a total disaster, but next time, I’ll take the advice left on Peakbagger and come in from the southwest.
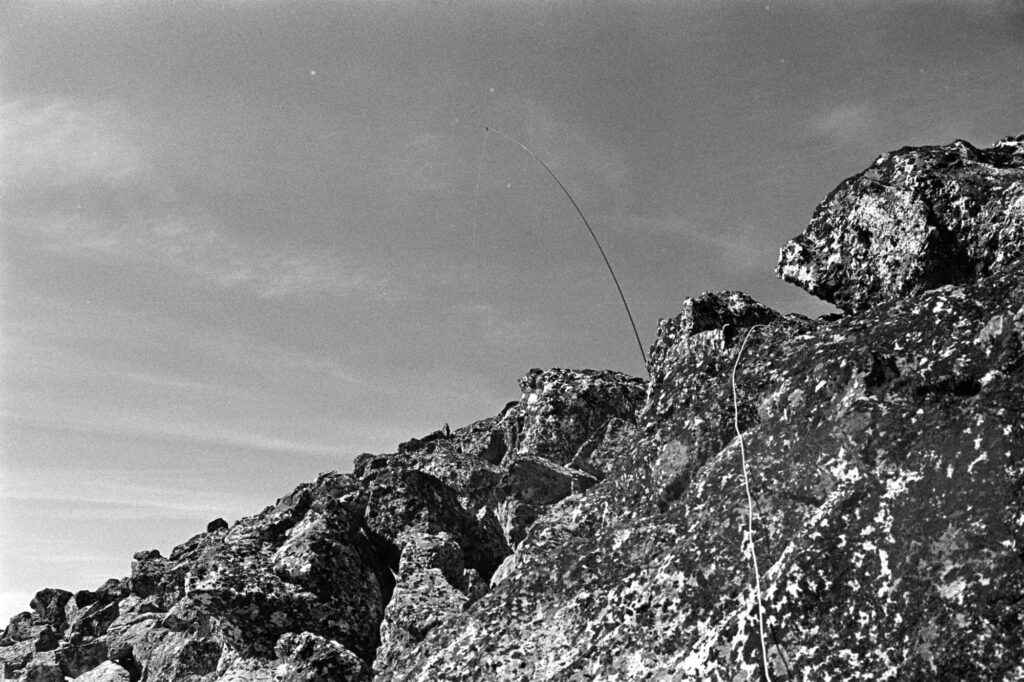
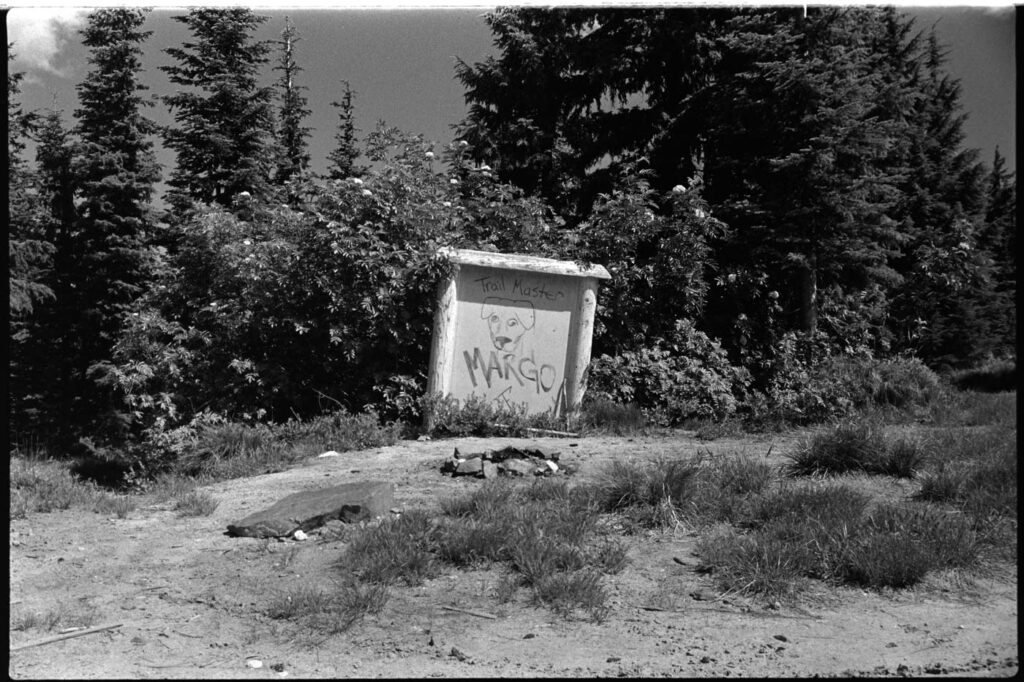
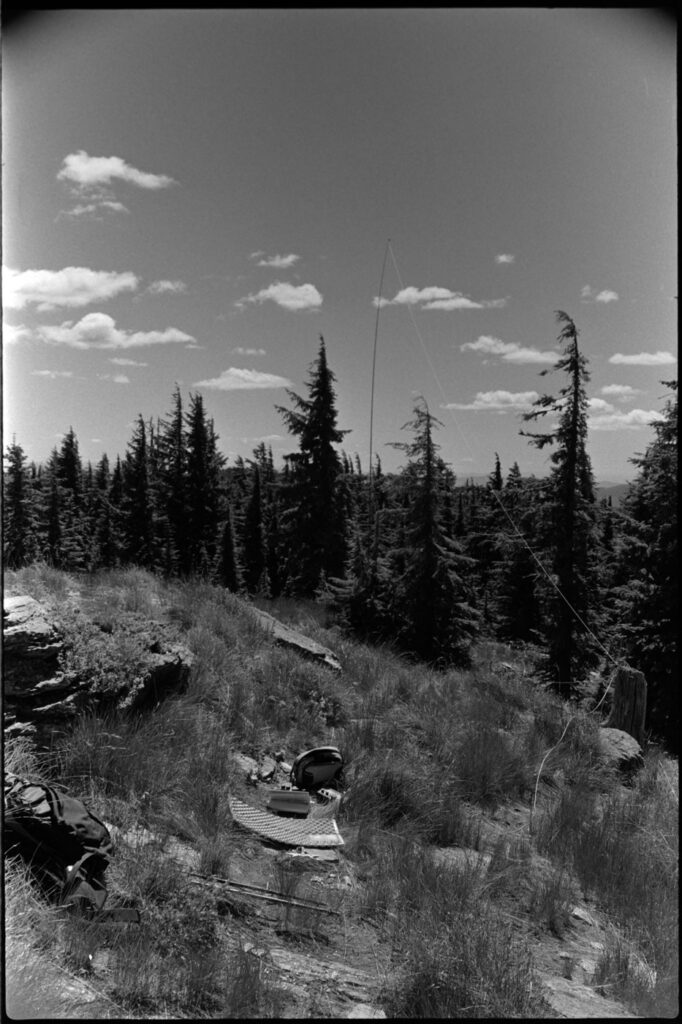
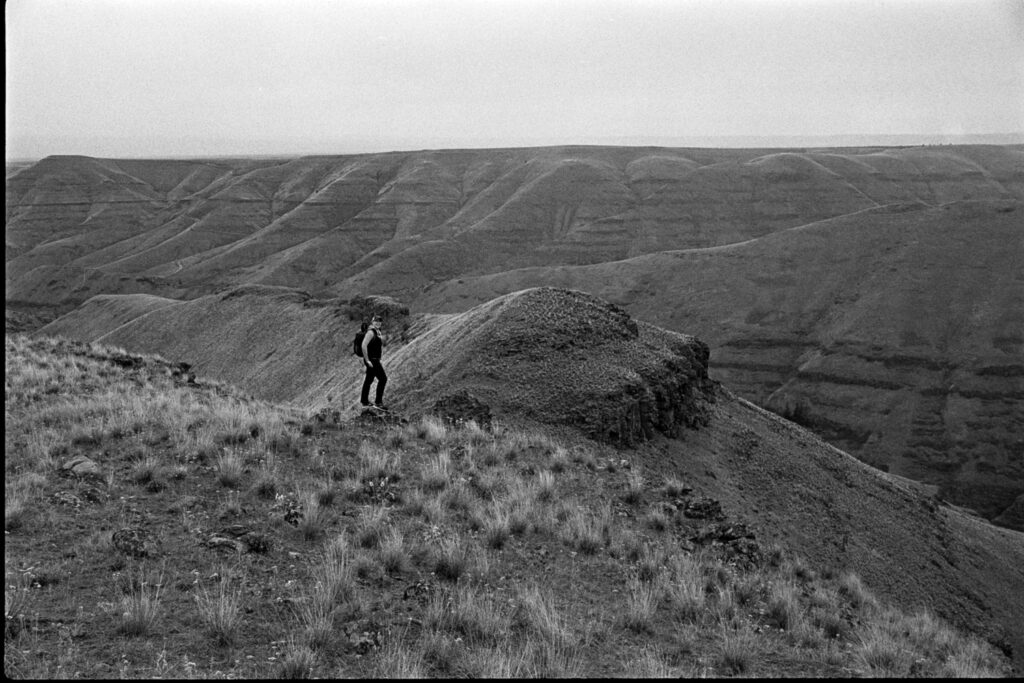
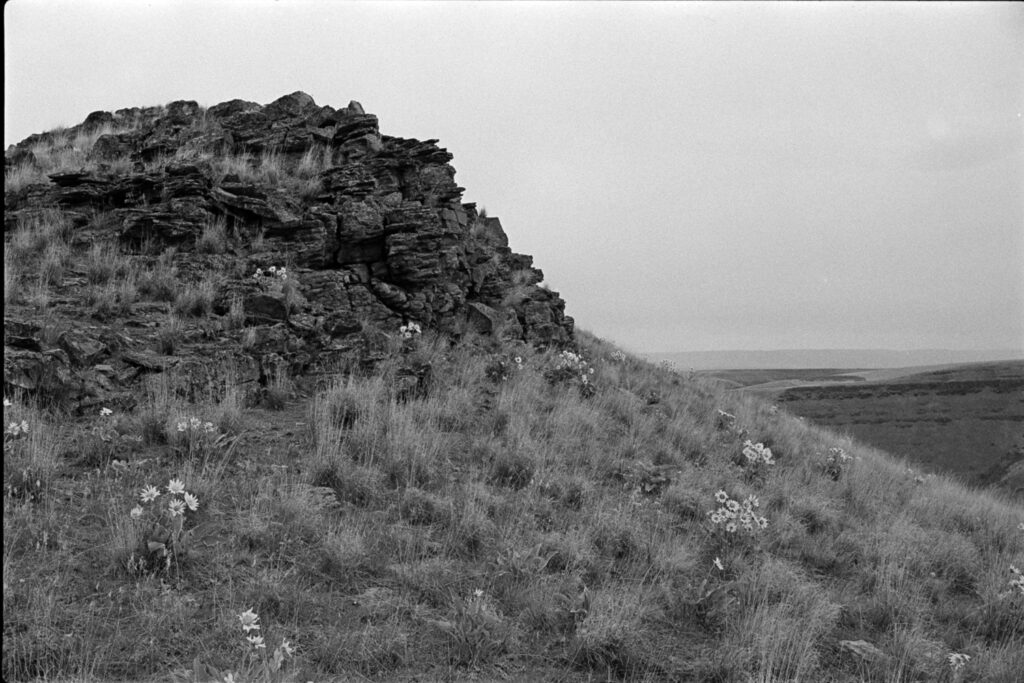
Bald Mountain (left) and Edds Mountain (right)Mast in the air with coax coming down off the near rock.Cairn at the very top of Bald Mountain.
Edds Mountain W7W/FR-011
After Bald, I hit Edds. It was heavily treed, buzzing with biting insects, and honestly, kind of a slog. A summit, sure, but not one I’d be super eager to do again (but points are points, right?).
The hike back to camp via Bald was full of blowdowns—not the fun “challenge your agility” kind, but the soul-sapping “why do I hike again?” kind. I got back to camp, fired up some spicy Jetboil ramen, and collapsed. Big day. Bigger sleep.
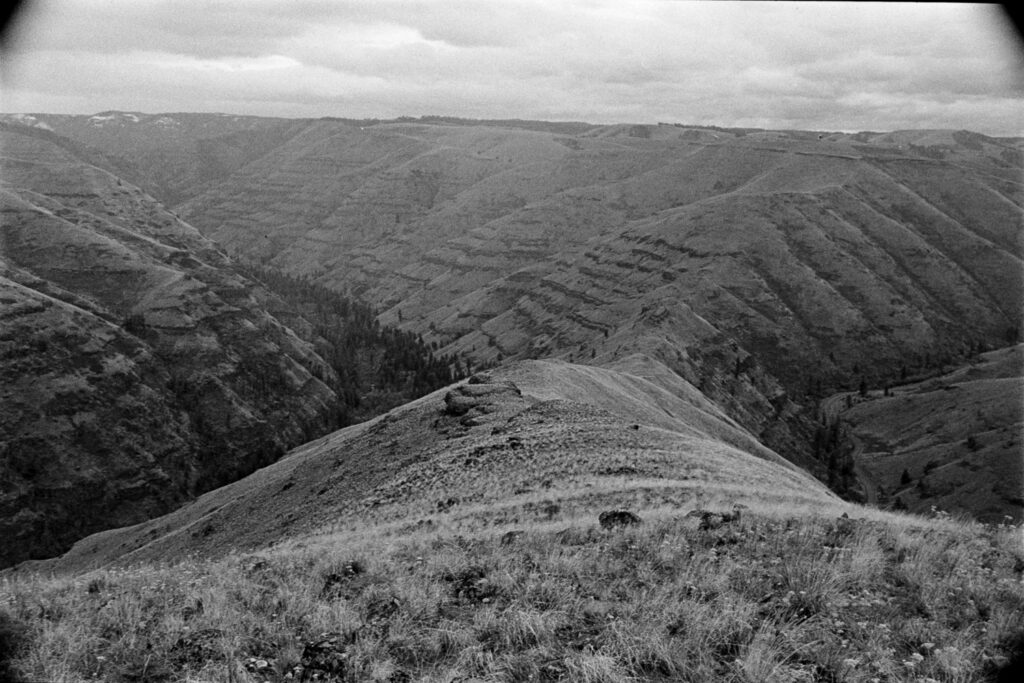
Looking at Edds from Bald Mountain summit.Dinner and reflection on the day.
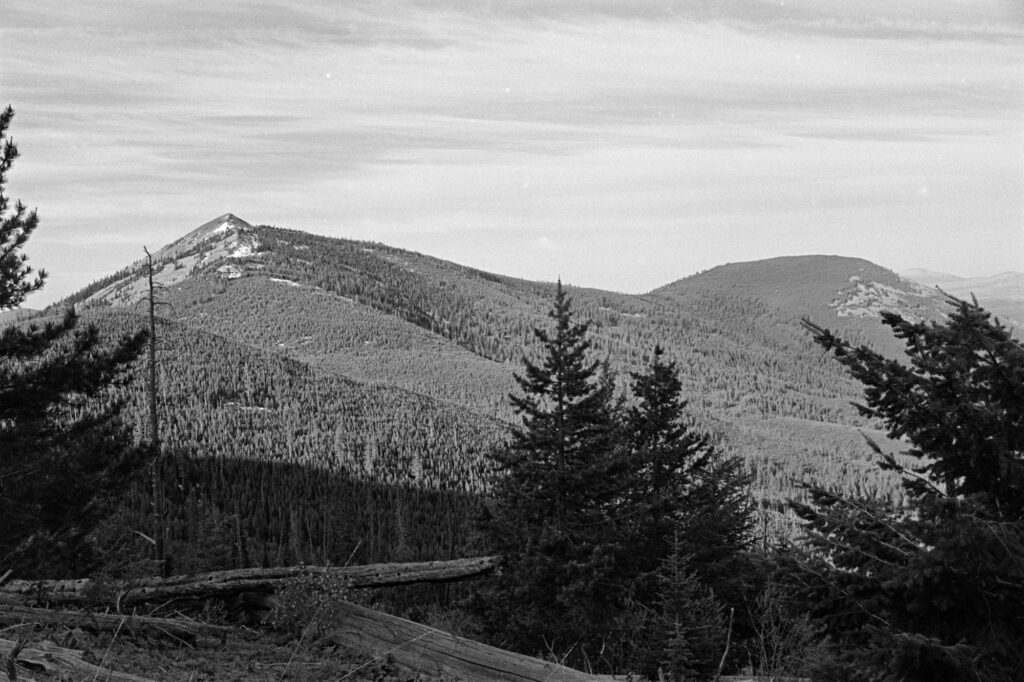
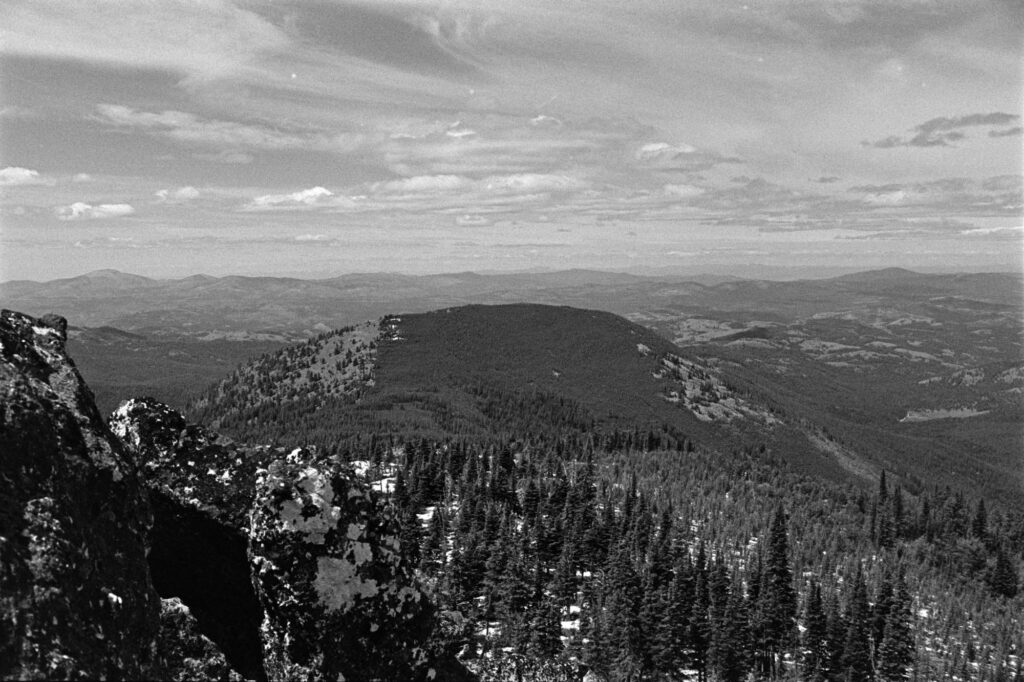
Snow Peak W7W/FR-002
I rolled out of the tent early the next morning, fueled by two Pop-Tarts and some instant coffee that was probably more morale than caffeine. Snow Peak was a short jam from camp and was my favorite of the trip. Incredibly steep but not technical, with a gorgeous and antenna-friendly summit with solid 360-degree views. 10/10, would scramble again.
Snow Peak from the north ridge.
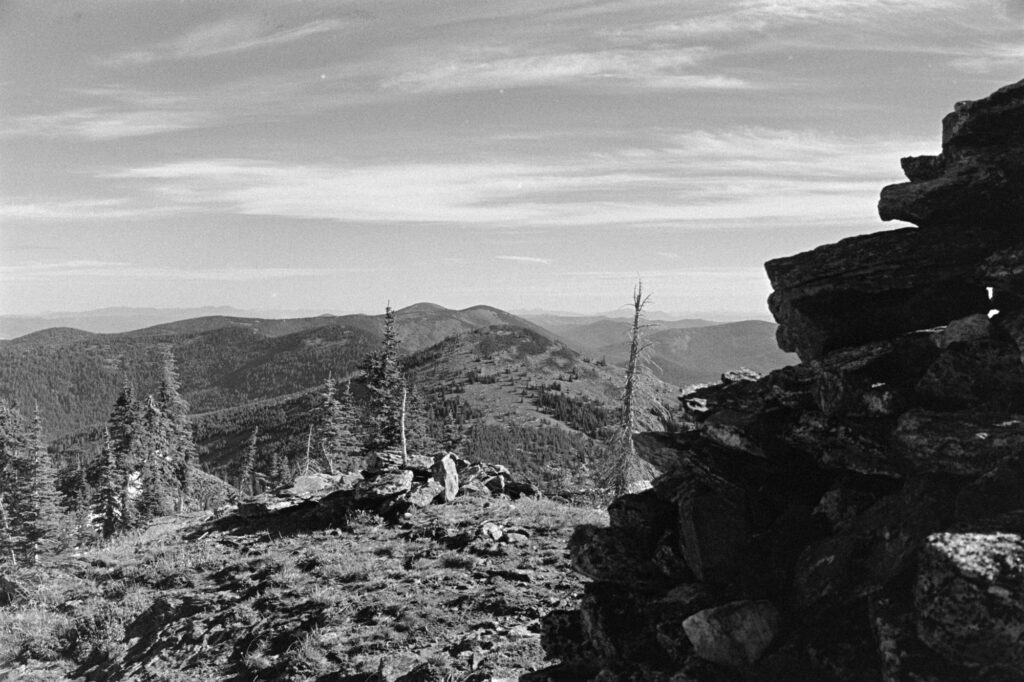
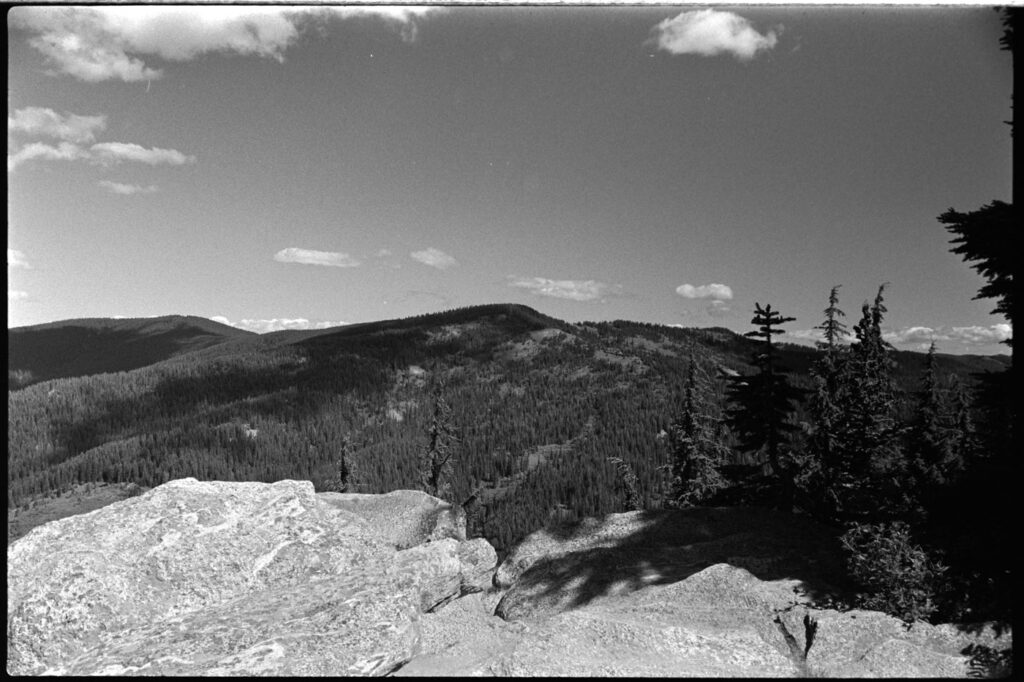
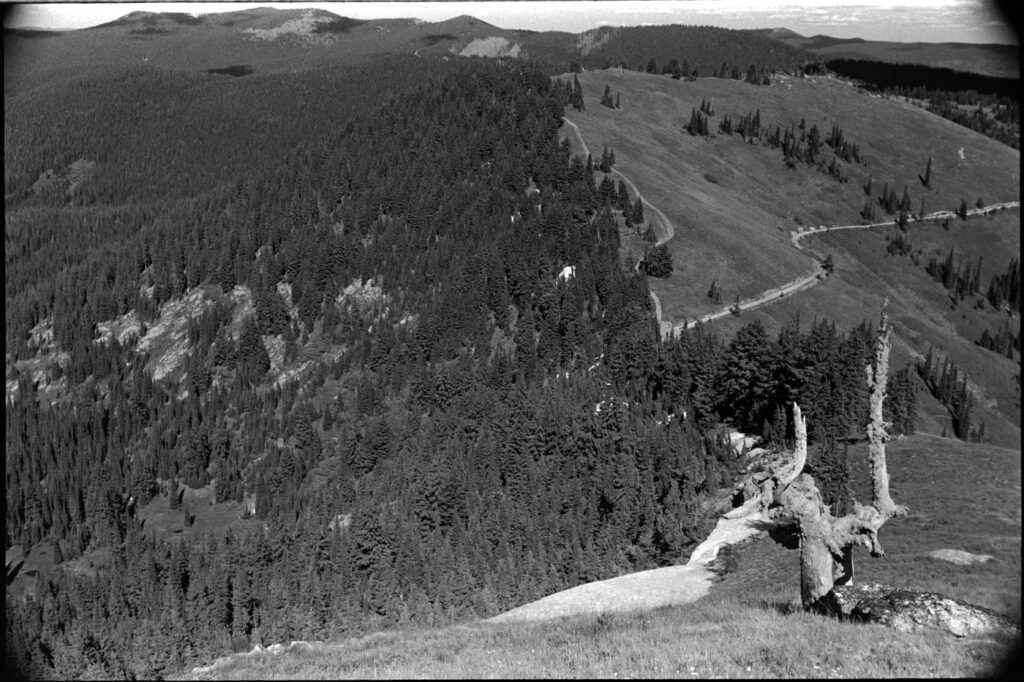
Sherman Peak W7W/FR-005
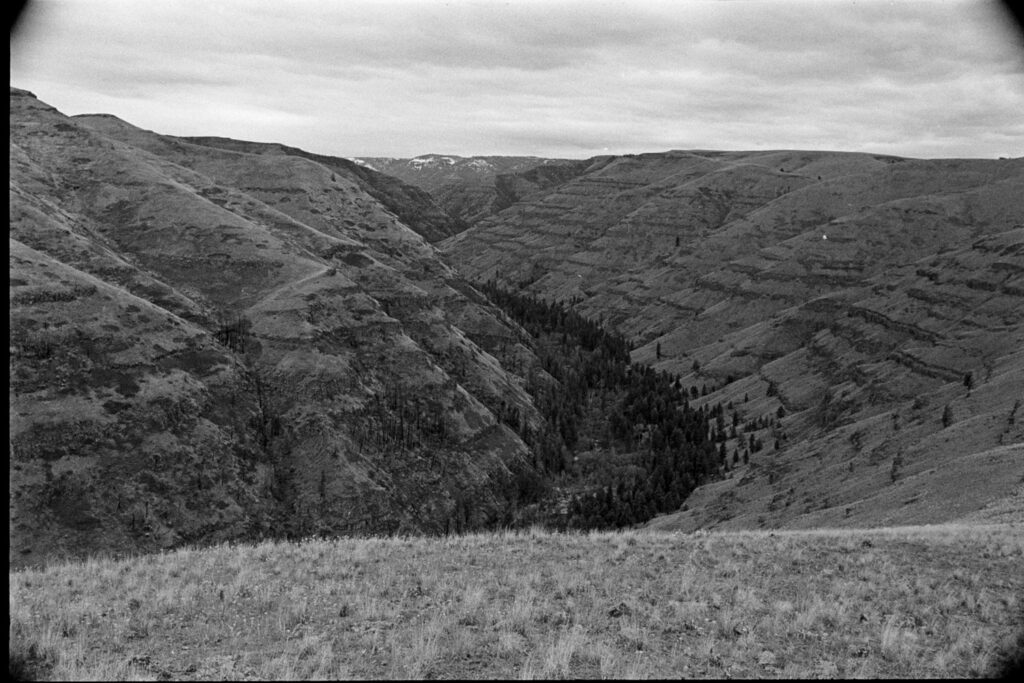
In theory, you can traverse from Snow to Sherman along the ridge. In practice, I encountered enough ankle-breaking boulders and sketchy snow cornices to reconsider all my life choices. Eventually, I bailed east off the ridge and reconnected with the trail (emphasis on “eventually”).
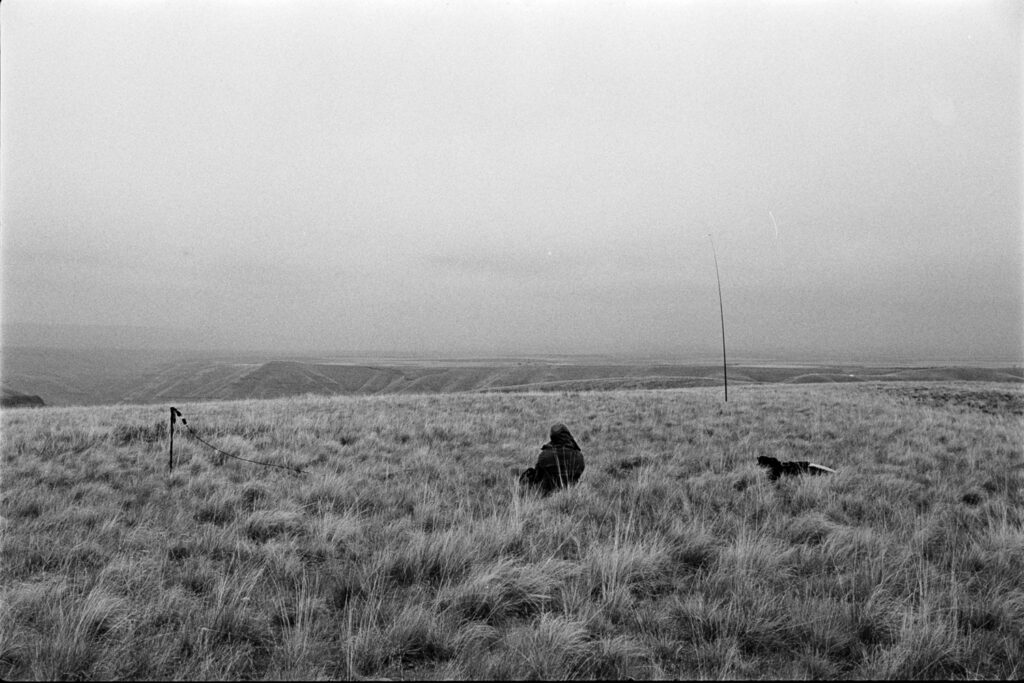
Sherman’s summit zone is rocky and sparse on shade—great for a view, not so great for loitering. I activated, grabbed a few photos, and made my way back to the trailhead. Visions of a burger and beer in Republic, WA fueled the final miles.
Looking towards Sherman from Snow Peak summit.Activating Sherman looking back upon Snow Peak.
Paradise Peak W7W/FR-023
To put a bow on the weekend, I decided to squeeze in a first activation of Paradise Peak. This was both a success and a declaration: never again.
The drive up was an long choose-your-own-adventure through logging roads. The hike was heinously steep and overgrown, with barely enough room to set up and operate. One of those summits where the only reward is points, and getting down safely. But hey, it’s in the logbook.
Paradise Peak from the car. Doesn’t look that bad from here.
Despite the mosquitoes, blowdowns, and the self-inflicted off-route scrambling, this trip was an absolute win. I’ll likely repeat a version of it next year, and if Future Me is reading this, here are a few things to consider:
Rent the damn cabin. Tent life is fine, but the cabin would naturally be better.
Bring bug spray and pants. Seriously.
Bald Mountain: SW approach only. Or bring a helmet because that northern approach was sketch.
Maybe try for a couple of those summits north of the highway. They’re eight-pointers as well.
A couple of Northern Idaho’s smallish summits that, in an earlier spring attempt were blocked by snow, are a bit of a long forest road drive to access. As you start to climb above 5300ft, FR301 becomes more rough than a standard SUV can handle. I parked my Honda at 47.01588, -116.06868 and walked the rest of the way up the road,
Grandmother Mountain W7I/NI-085 was the first objective and a pleasant trail hike out to the top. Unactivated with a great view, I bagged the chasers on 40m then moved on to the next.
Grandmother Mountain
Backtracking along the trail I came to an overgrown but established sidetrail heading east that seemed to head right below the summit I was aiming for, Mark’s Butte W7I/NI-092. After following this one for awhile, which was no breeze, I decided it was time to start heading straight up the hill. The saddle chute was pretty snowy and from what I could see, up the side was the best option.
This was a mistake. Incredibly steep with loose footing, it was a sketchy ascent that included several slips and a couple of near falls. As I got closer to the top, I soon realized I was in a pickle.
The snow cornice above me was significant. It stretched about as far to the climber’s left as I could see, with a steep snow field below. Directly above was a no-go and going back down was, in my mind, not an option. It appeared as though this field of snow continued to far out to climber’s right as well, but the thick vegetation only gave me about 50 meters of sight.
Stayed to the right of the snowfield on the ascent.Straight up was a no-go.
This was a shitty spot to be in. I’ve been in some not-so-great situations in the outdoors and this felt like it could get real bad, real quick. So much so that I messaged my wife via the InReach with my location and said I was okay, but if you don’t hear from me in a few hours this is probably where I’ll be.
Sitting down to take a beat, drink some water and eat a cliffbar, I worked through my options. Up and to the left would most likely end in a fall that would probably kill me. Back down might be the same, but the fall risk a little less due to the lack of snow. To the right was the known unknown—it might still end poorly, but there was a chance I could find a way.
The mountain gods gave me a nod because after a hundred meters or so the snow thinned out and I could see daylight above. Several more minutes of struggling but with renewed enthusiasm, I broke through to once of the nicest summit clearings in all of northern Idaho.
In the above photos, I’m up on top of Mark’s Butte looking down over the cornice. Turns out, this entire area just below and to the east of Mark’s is named Freezeout Ridge—we seems a little too on the nose.
I made a relatively quick activation of this guy but all I really wanted to was to get on the road back home. The climb down off of the west side of Mark’s quickly became crazy thick and a tough go. This day wasn’t going to let me off the hook easy.
I finally busted back out into the road and the rest is history. If I were to attempt Mark’s again, I would go at it from the road which is directly north. Surely there’s an easier way up.
Found myself up in the Bellingham, WA area for a work function over Memorial Day weekend, so why not take advantage of the North Cascades and bag a summit?
South Lookout Mountain looked quite doable and literally right across the street (and down a long road) from the Airbnb. This is early in the season, probably the worst time to try and hike it because the snow is still 3-4 feet deep yet the temps are warm, making for a Slushee-like consistency. Microspikes, GORE-TEX shoes, and shin-high gaiters definitely helped minimize the suck.
The sun was out and I had the day to myself with frequent glimpses of Mount Baker just to my east. After becoming frustrated with the difficult snow hiking, I made the decision to bypass the switchbacks of the road and just head straight up the side of the hill–that wasn’t the best decision of the day.
Once at the top I stamped down a good spot to operate, set up the EFHW and fired up the ‘ol Icom 705. This was a bittersweet activation as it was most likely the last time I’d use the 705. A new radio was ordered and shipped… more on that at a later date.
With nary a smidge of cellular coverage, I didn’t bother spotting myself and just hunted around for random SOTA ops calling CQ. I only made six contacts but all were summit-to-summits, which is pretty fun. That includes one made on 2m with the handheld, something I don’t get to do very often over in the sparsely populated eastern side of the state.
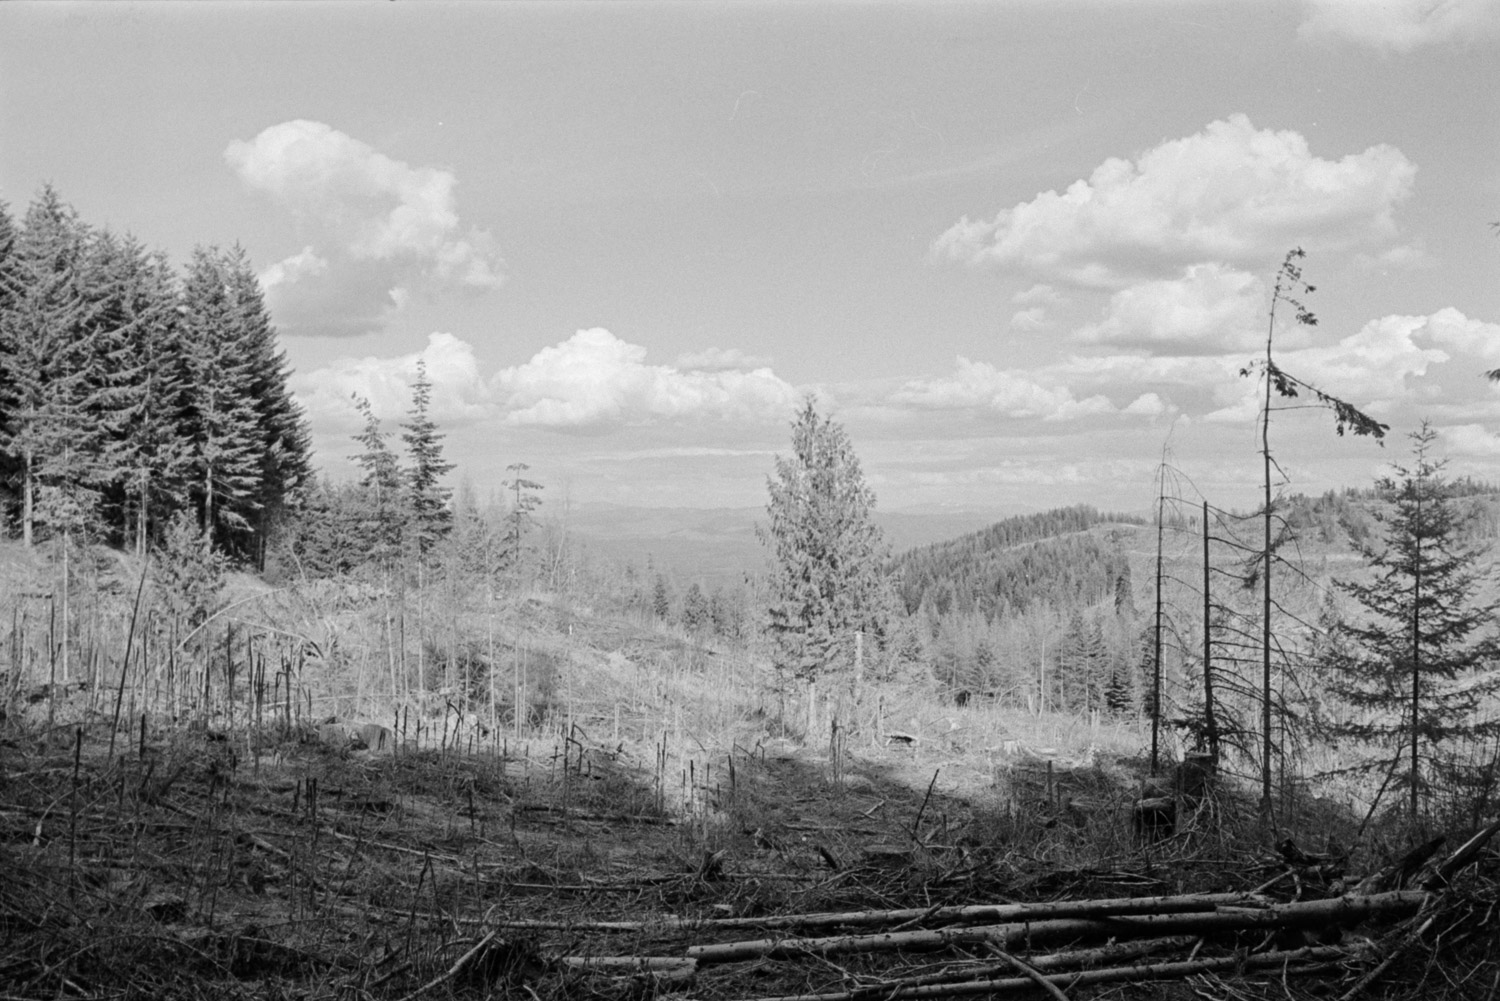
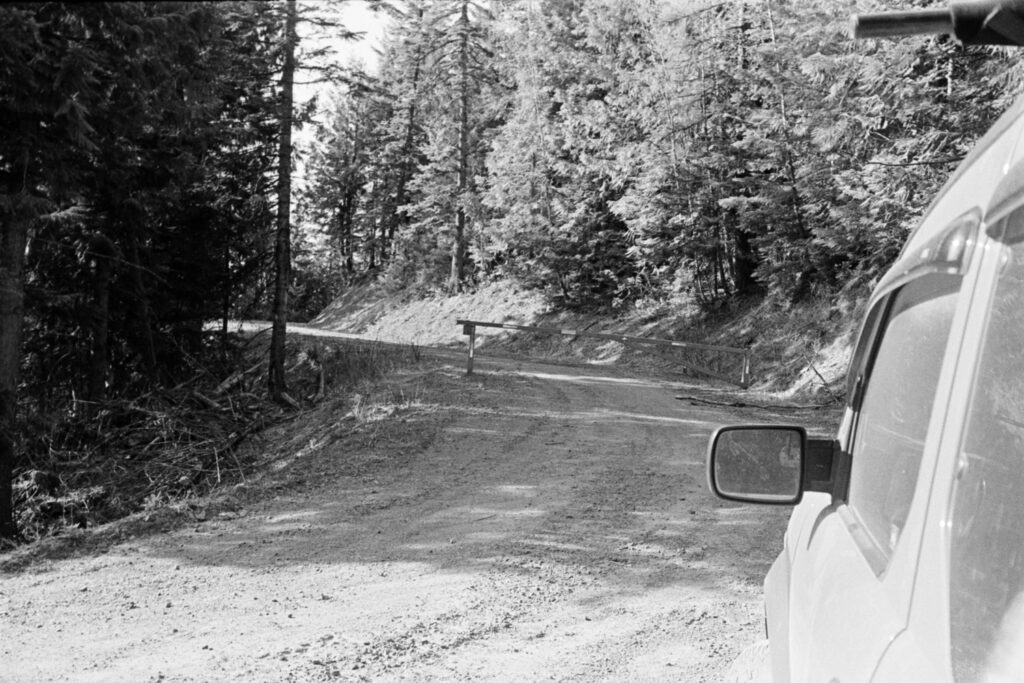
A relatively easy summit to bag, the biggest cost was the time it took drive the Forest Service roads to get to the start. This is Idaho, so it should go without saying that there’s logging activity. I keep thinking I should nab myself a little CB radio so I can monitor the posted channels when I head into these areas.
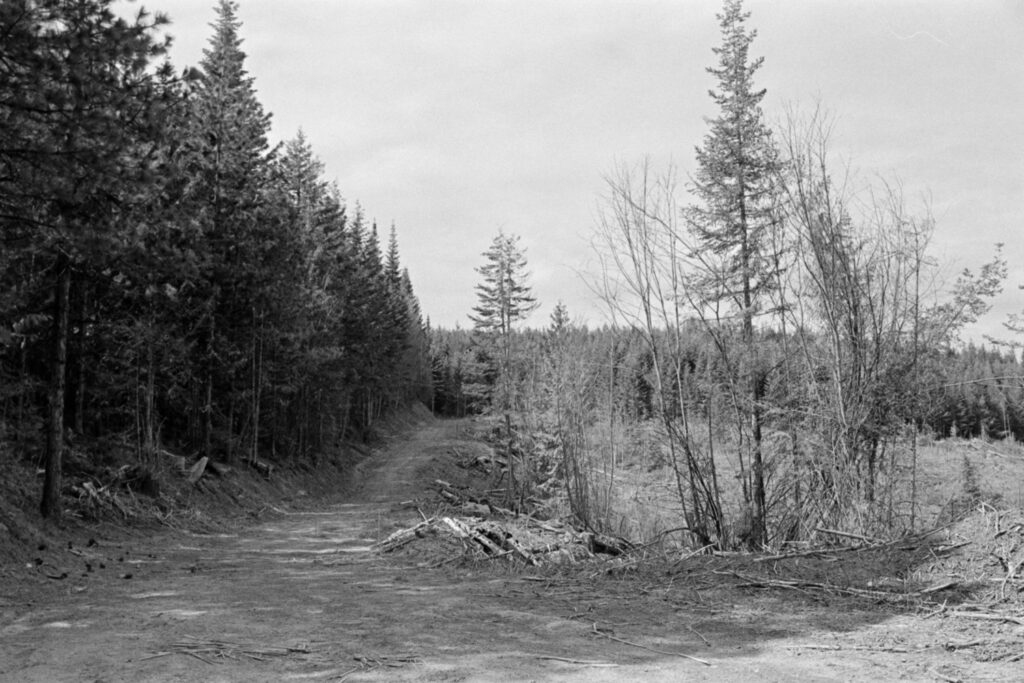
Plenty of parking area at the gated start, there was a nice trickle of fresh snow melt coming off the hillside. The walk in was a gradual climb that’s hardly worth mentioning. Once getting a bit higher, coincidentally where all of the trees are cut down, the views are rather interesting if you can look past the coniferous carnage (pardon my poetry).
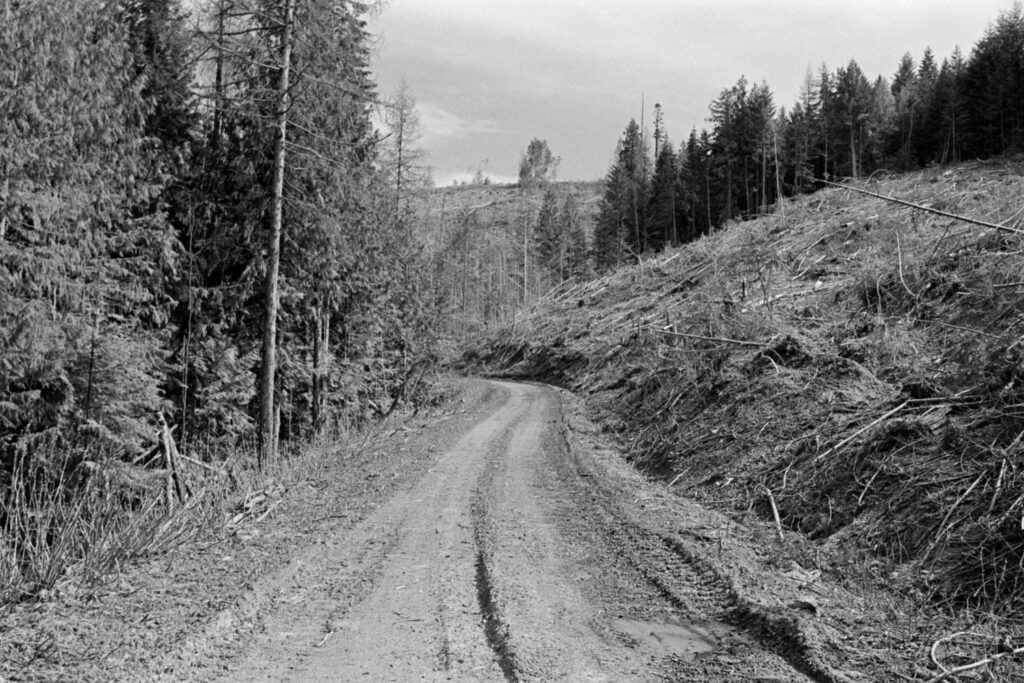
At some point there road turns and you might be tempted to follow it, but going straight through the trees and right up the side of the hill is the quicker option. The true summit was a little difficult to find as the veg was pretty thick and I don’t think the map data is totally accurate. Regardless, I made it to where the GPS pointed me and was within the activation zone, so up the goes the wire.
The 20-meter band was BUSY so after answering WD9DWD’s CQ for the Handiham‘s QSO event (a long-distance Idaho to Idaho call), I spotted myself and was greeted by personal chasers N0WAE and WW7D, plus a couple of summit-to-summits which I always enjoy.
Back down the car for a nice drive out and a celebratory pint of Pilsner at Pour Company. Gotta pat myself on the back for a good afternoon touching grass and nabbing another first activation.
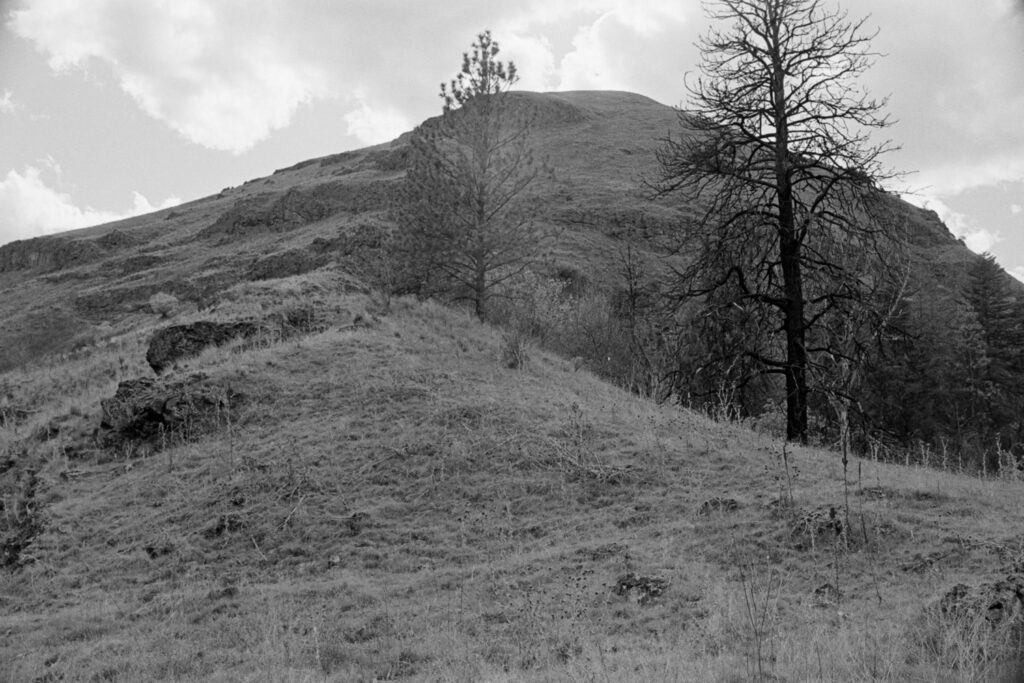
Almost immediately after leaving the parking lot, the ascent up the side of the ridge begins. It’s steep—gaining over 600 feet in the first quarter mile or so. The traverse across the ridgeline continues for another two miles, with plenty of additional climbing, until we topped out at the high point which felt like a flat, grassy mesa.
Start of the climb, looking back towards the parking lot.
During the approach we saw a herd of bighorn below us to the south and watched a fast-moving group of mule deer book it across the draw.
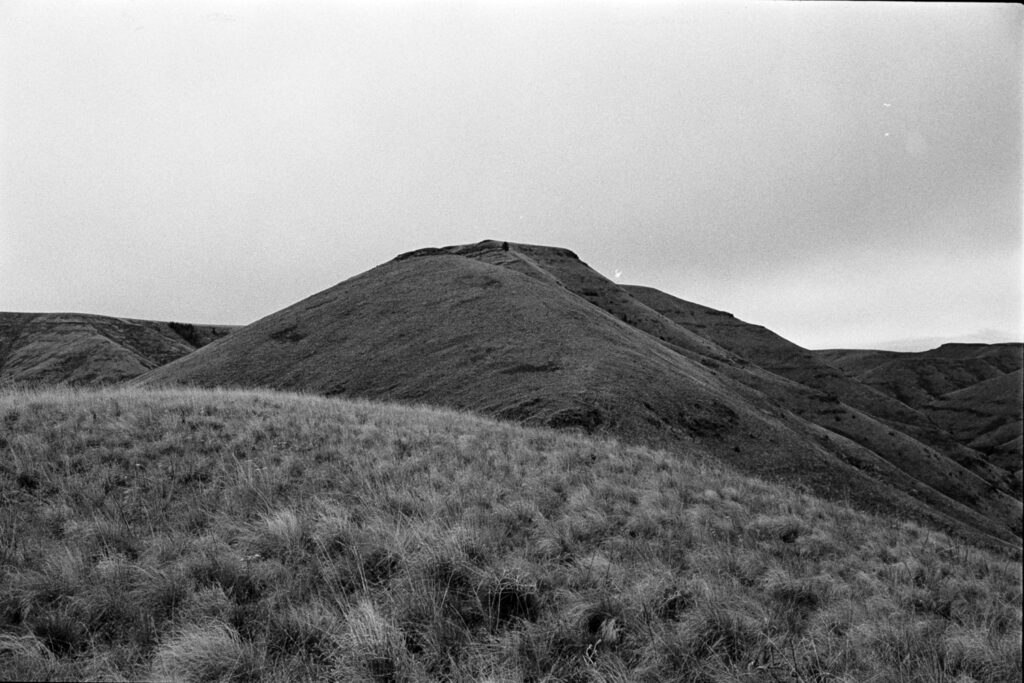
There were no trees in the activation zone, which made for a great 360 view of the surrounding hills and distant snow-capped mountains. As soon as the antenna was up, rain began to sprinkle on us. After four QSOs, which took about 20 minutes, the rain was falling heavier and it felt like a smart idea to get off the ridge.
A nice place to stop, except for the rain.
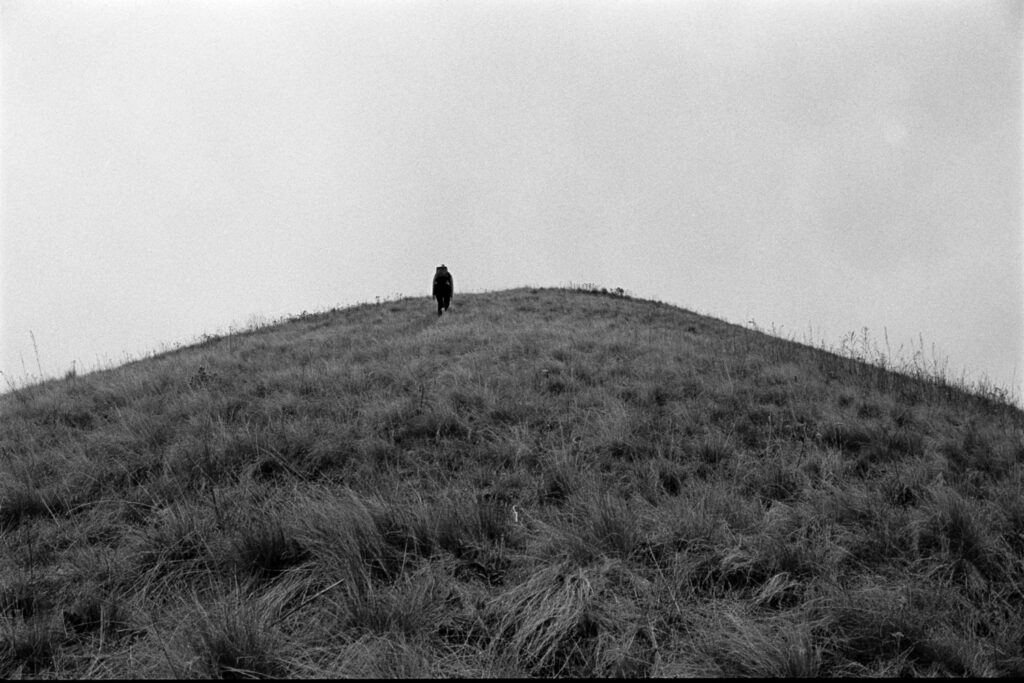
Route-finding back down towards the trail was steep, rocky, and a little sketch. We randomly found a geocache at the base of a rock spire so I stopped to write in the logbook and Corrie tossed in a friendship bracelet.
The descent doesn’t look all that inviting.Wildflowers were out. Spring is here!
Returning on the trail felt wildly fast and easy after spending 3 hours navigating the cross-country route above.
This could be done in reverse, but we both agreed that the idea of descending the eastern section that we initially went up seemed scary; we’d probably do it counter-clockwise again.
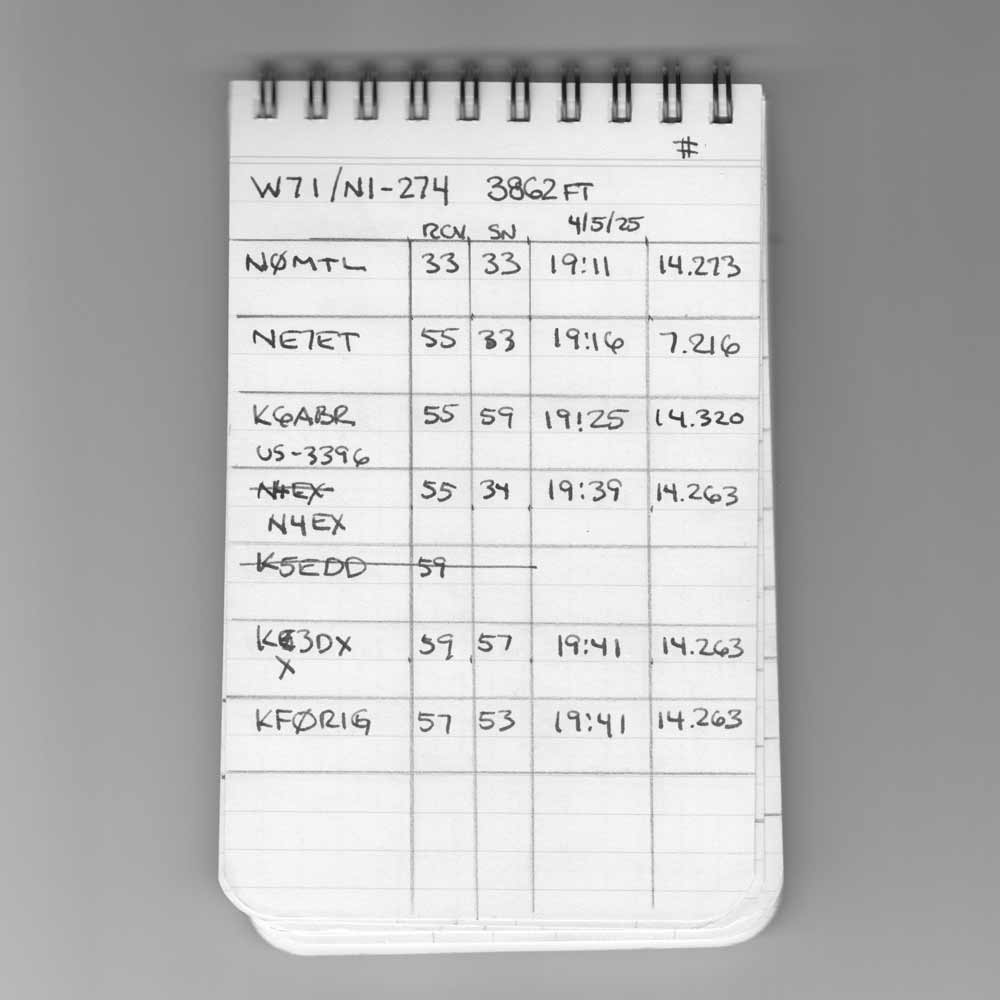
For April 4th the weather was prime, though I should’ve started earlier in the morning when it was colder—more on that later. The turn off for the FS roads/trails was completely snowed in (see photo), so I parked off of the hwy a hundred yards up at a better pull around.
Gate for the road up was locked and I’m not sure if it’s seasonal or if it’s just perma-locked. The snow was relatively deep at a good 4-8″ for a majority of the hike. Luckily, I was staying on top of the crust as I didn’t bring snowshoes or even more regrettably, gaiters. The path up is a forest road, making it easy to follow and I assume that holds true in the summer. As I gained altitude and the road became more exposed, the post-holing started.
At some point I could tell that I was just below the activation zone but my planned route had another half mile or so to go. The post-holing was becoming obnoxious so the decision was made to just ascend through the trees straight up the hill. Lots of animal sign up there.
The AZ was relatively clear and made for a nice place to set up an antenna and operate. Not much of a view but I was happy to have some sunshine and a little bare ground.
Band conditions seemed sub-optimal so after making six contacts and not hearing much else, it was time to head back.
At this point the temps had warmed and the sun was high. While 80% of my steps on the way up stayed on top of the firm snow crust, now 80% of my steps were breaking through and I was sinking ankle-to-knee deep. That was tough going and I badly wished I had brought my gaiters. A lesson learned.
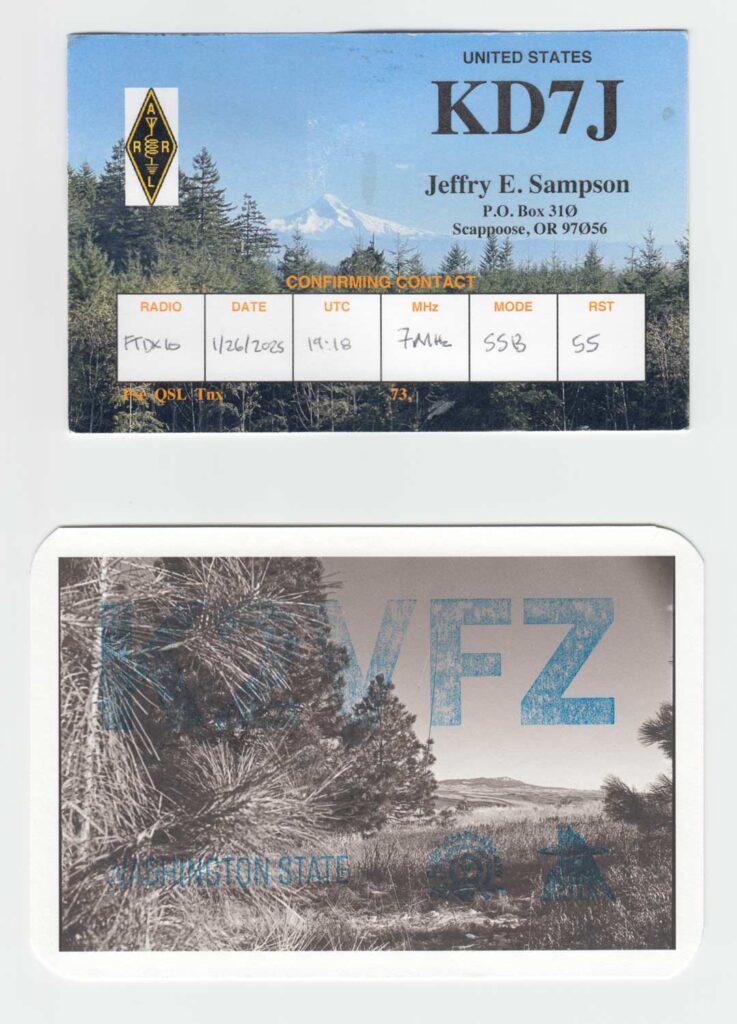
For the non-ham, a QSL card is basically a postcard-sized print copy confirmation of an on-air contact. Dating back to the days well before we were confirming contacts on the internet, QSL cards are a bit of a historical relic, or more appropriately, a tradition that is unfortunately not just modernly uncommon but also seemingly an afterthought.
Last year was my first in ham radio. I made just over 100 contacts during my SOTA activations (100 is not that many) but I only received one QSL card—a less than 1% return. And actually that’s not even true, because my first card received was from an activation I did in Jan of 2025… but the point remains, it doesn’t seem to be common.
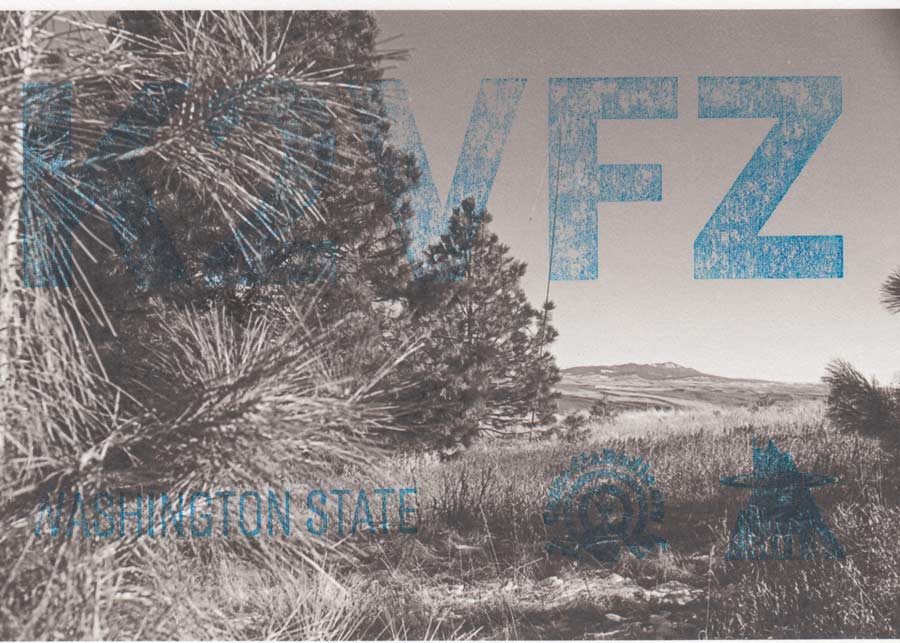
I was excited to receive my first QSL card. Most of these cards are quite personal, with a photo of either an operator’s radio shack, hobby, or nearby landscape scene. This card was a nice picture of Mount Hood, as KD7J lives just north of Portland in Scappoose, Oregon.
This was the nudge I needed to make my own card. I began to research how because I naturally wanted to know what expected information to include, if there was a preferred size, etc. and I was greatly disappointed to have returned to me videos and write-ups such as “The simplest easiest cheapest QSL Cards” and “Get One Thousand Custom QSL Cards for $61!” and “QSL Cards in 2 Minutes”.
Kindly fuck off. Or, more eloquently, as a great Jedi Master once said, “Do or do not. There is no try.”
To be clear, I understand that as a graphic designer / photographer / artist I’m an anomaly. But for a crowd that purports itself as a one that carries traditions forward… this anti-QSL card mentality feels, quite frankly, hypocritical.
Anyhow. This is my realm and my opportunity to accurately represent my own scruples. So here’s my process:
During the approach and activation of the summit, photos are taken with both a 35mm and 120 format camera on, typically, black-and-white Ilford HP5+ film.
Post-activation, the film is developed and scanned into the computer at home.
If a QSL card is received from a contact on that SOTA activation, a representative photo from that trip is chosen and printed out on Hahnemühle 4×6 photo cardstock.
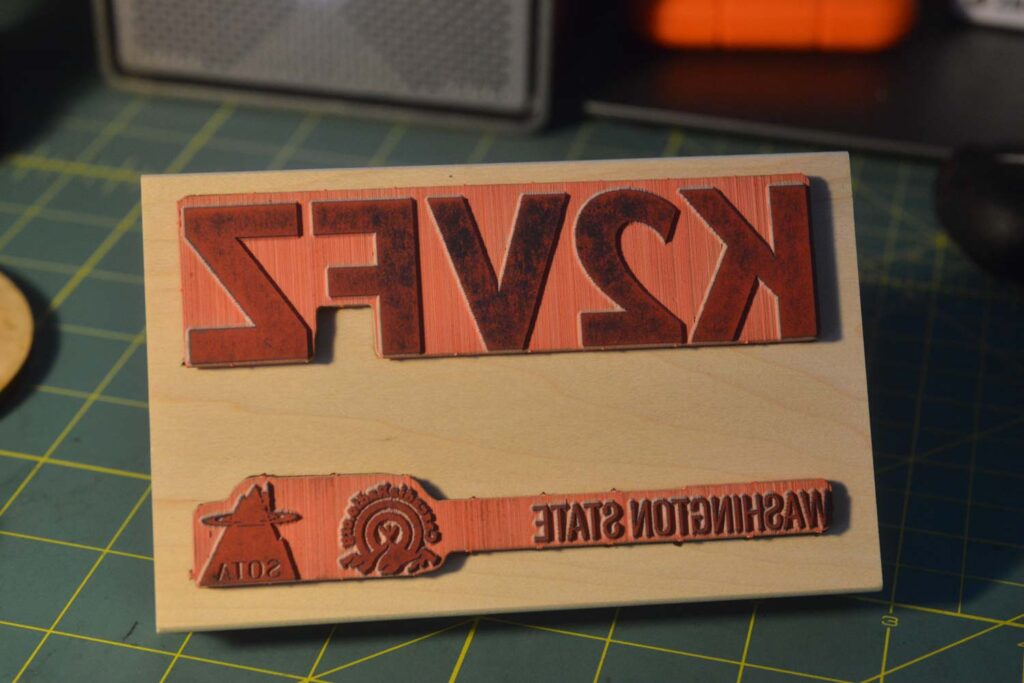
Overprinted on the photo is a rubber-stamp of my callsign along with icons of the Cascade Radio Club and SOTA organization.
On the back of the card, I print out the pertinent information (date, mode, etc, rst, summit code, etc.) with a fountain pen using a Sailor state-specific ink color.
Could I possibly make this any more of a pain-in-the-ass, cost-prohibitive exercise in pretentiousness? I think not. But if you receive a QSL card from me, know that I truly valued our contact, your chase, and hold a deep respect for the hobby.
To fair, my first QSL card is a bit sucky. But one shouldn’t hide their imperfect work. If you put in the effort and learn something, it’s solid. My next will be better.
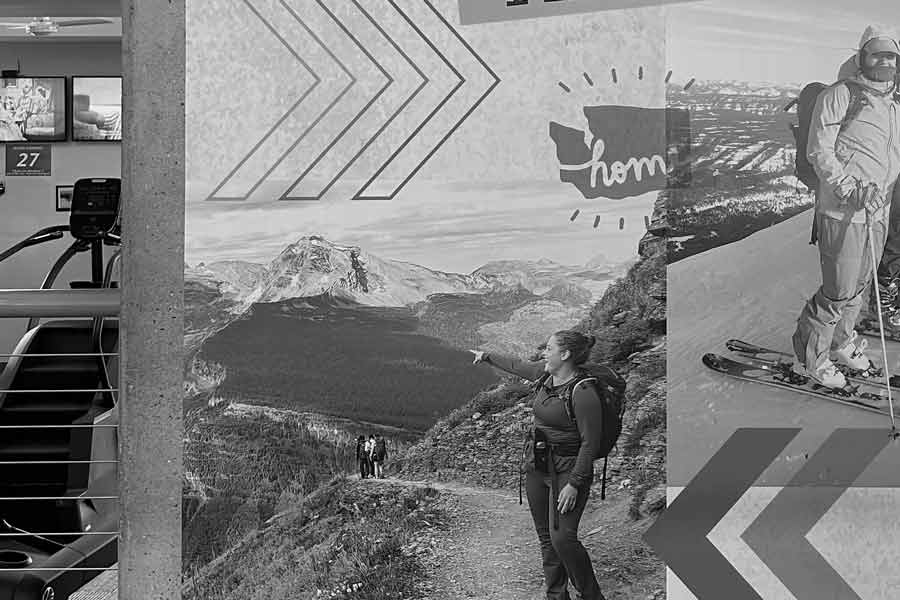
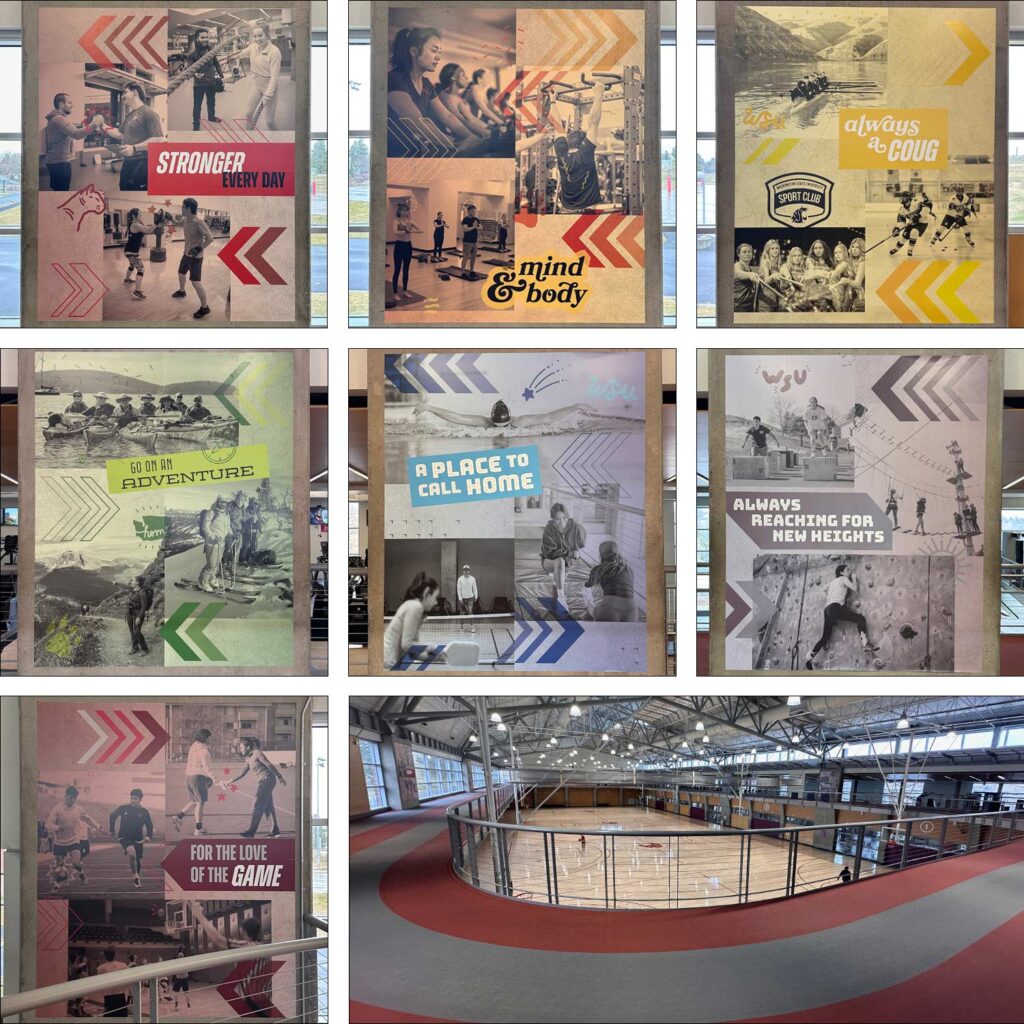
The indoor track at the Washington State University student rec center (UREC) was a bit dated—at least a decade old at this point. They called me up to refresh the seven wall graphics around the track; each 7×9-foot installation a nod to a unique facet of UREC’s student recreation opportunities & spirit.